
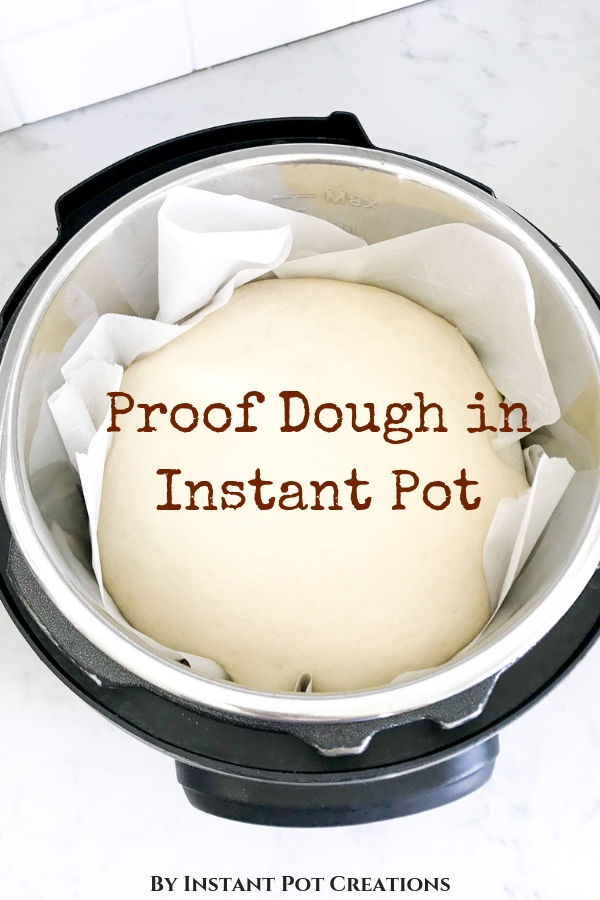
Proof Dough in Instant Pot
Did you know that you can proof dough in the Instant Pot?

What is Dough Proofing
What exactly is proofing?
Technically the term, proofing, is used by bakers to name the second rise stage of dough. The term for the first rise of dough is called bulk fermentation or bulk proofing.
Most commonly the term proofing is used for both first and second rise. So as not to confuse everyone, I’m calling the first rise as proofing. This first rise proofing is the method we’ll be learning how to do with the Instant Pot in this post.
The first rise period is when most of the fermentation and flavor gets developed. The yeast is hard at work, eating the sugars, releasing ethanol and creating CO2 which makes pillowy air pockets that expand the dough size. This rise time is crucial to a delicious flavor!
After the first rise, the dough is punched down to release gasses and the dough is shaped according the recipe to rise a second time. The second rise will allow the dough to increase in size, continuing the fermentation and flavor to develop.
Now that we have the basics covered, let’s make some dough to proof!
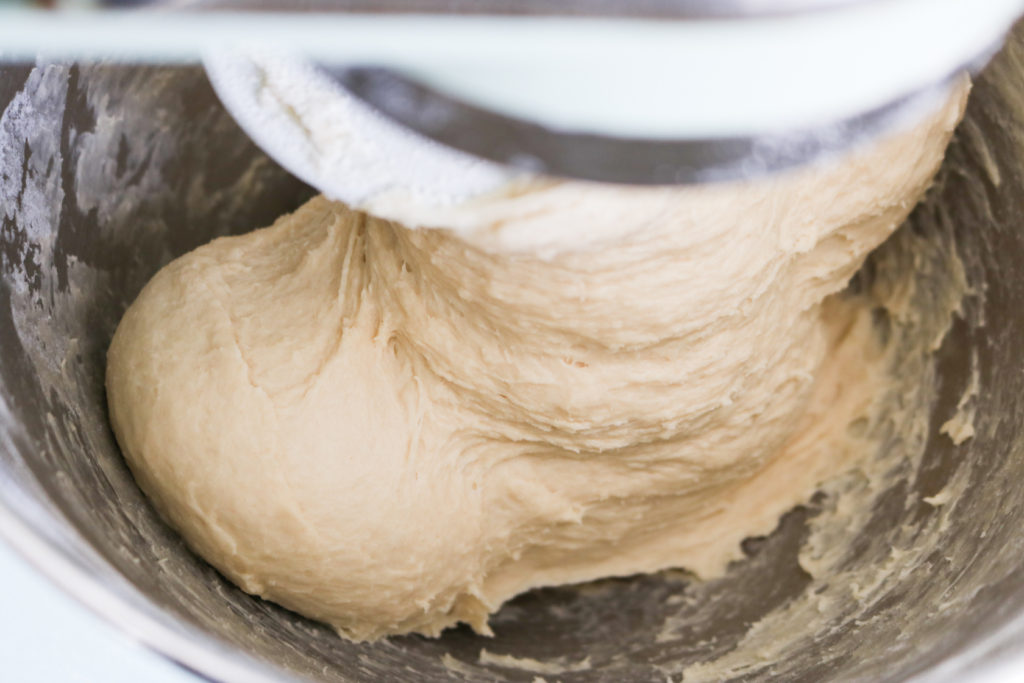
making the dough
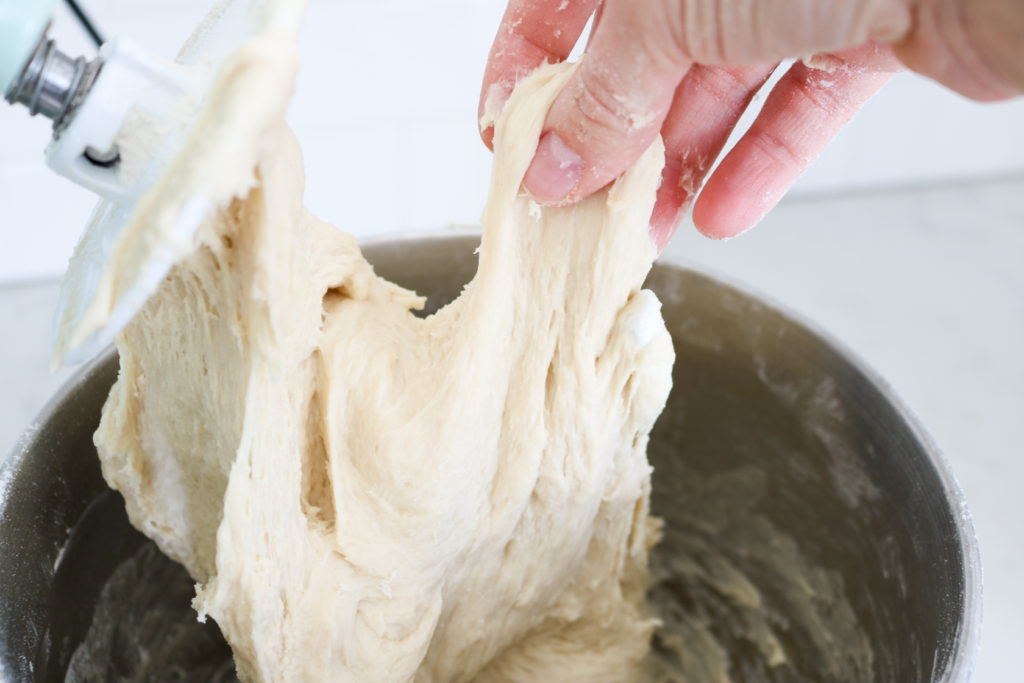
First, mix your bread/roll according to your recipe until dough has reached the first dough rising stage.
For more detailed information on making bread dough, check out my post on the best homemade rolls. Or check out this post if you need a gluten free bread recipe.
(This post contains affiliate links. As an Amazon Associate I earn from qualifying purchases.)
Prep the Instant Pot
After you’ve made your dough, it’s time to prep the Instant Pot.
Rip off a piece of parchment paper big enough to hold dough inside.
Or you can skip the paper and spray inside with non stick spray. I find that it’s easy to remove and have a prep surface with the parchment paper method. Both methods work great though!
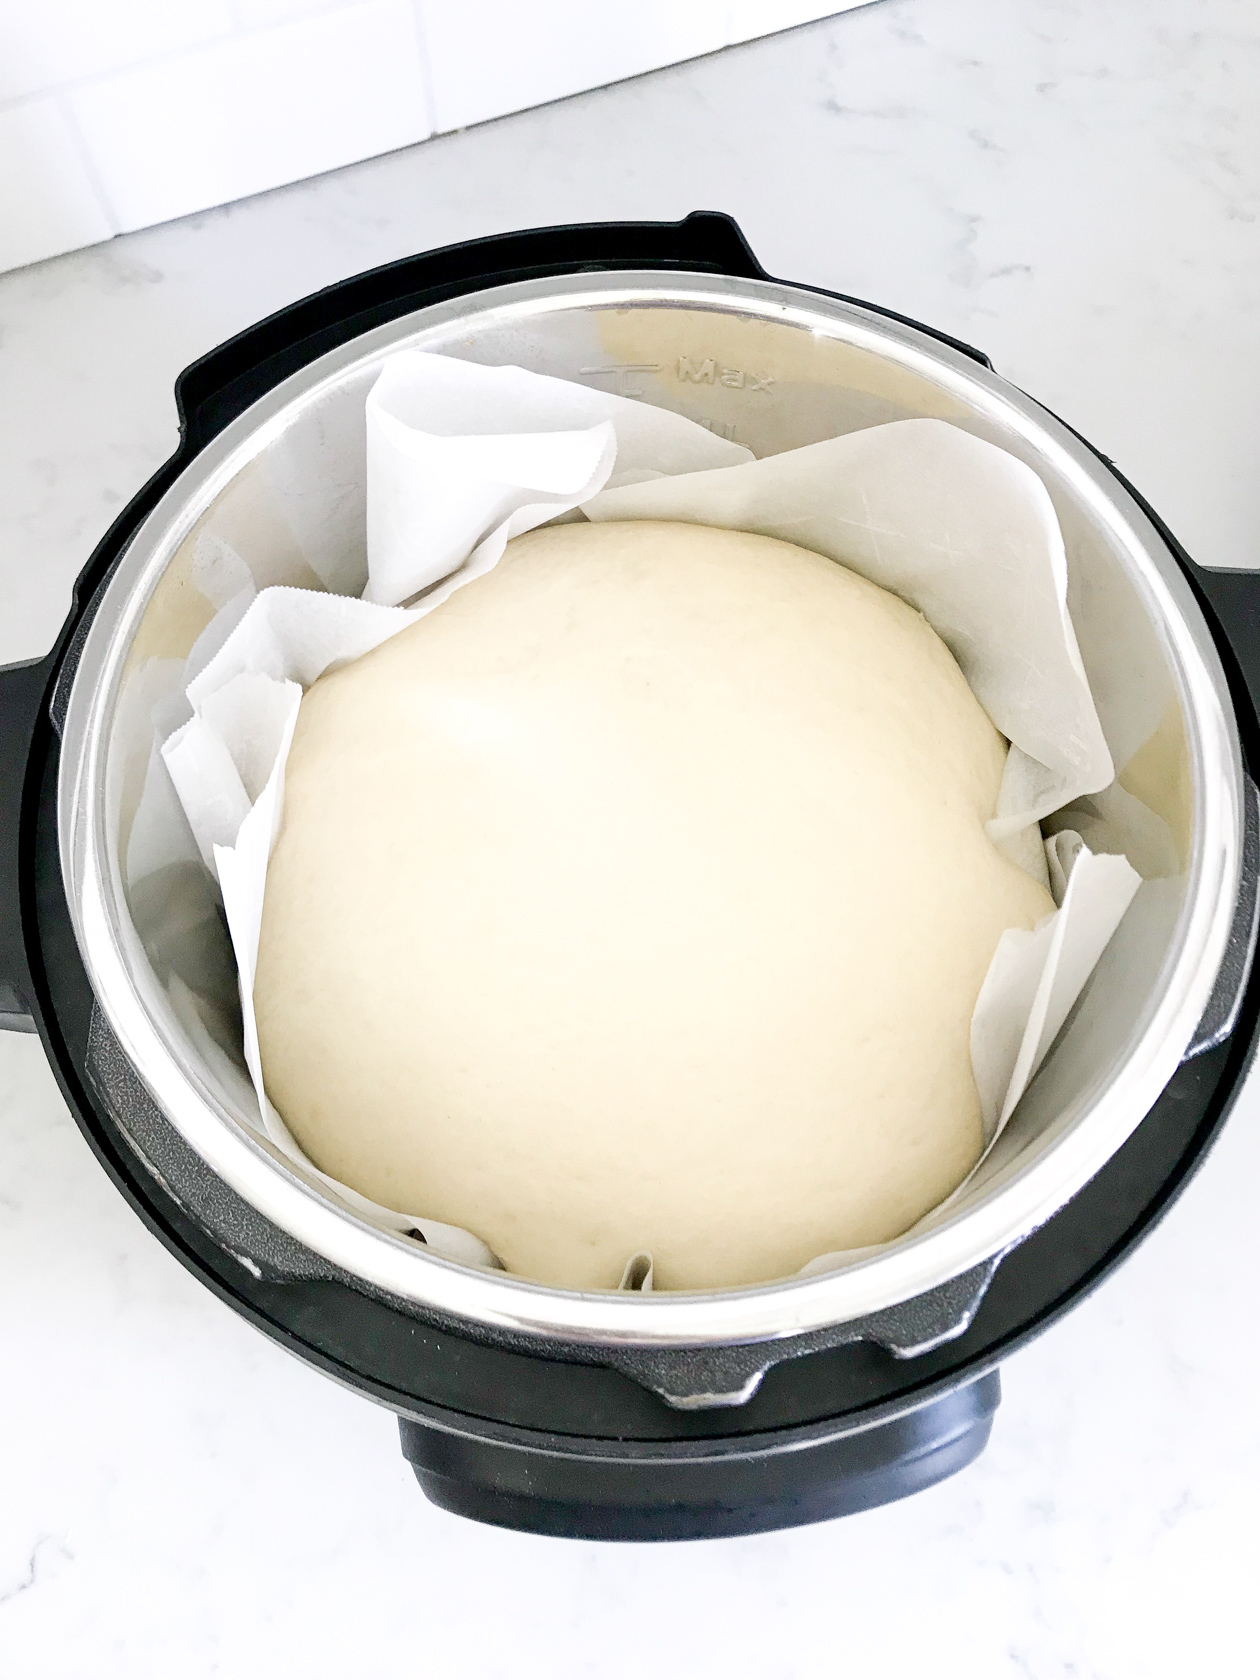
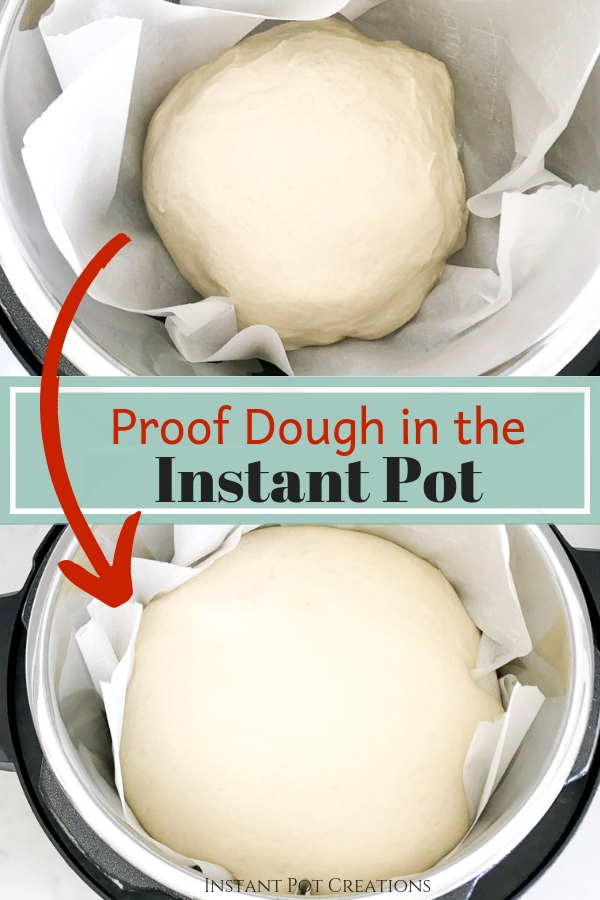
Press the parchment paper into the liner pot and spray with non stick spray. Remove dough from mixing bowl and gently shape the dough into a ball size shape to fit inside the Instant Pot liner. It doesn’t need to be perfect because it will stretch and round out as it rises.

how to proof dough in Instant Pot
Press YOGURT button on Instant Pot, then select LOW temperature setting. After a few seconds, the Instant Pot will beep. Cover with a lid that fits, or if you have the clear Instant Pot lid, or any plate that is big enough to cover the liner.
Don’t use the regular Instant Pot lid, just in case your dough rises too much otherwise you’ll be left with a doughy mess to clean out of your sealing ring and edges of the lid. Not so fun to clean.
Check out this post if you need to know how to deep clean your Instant Pot.
how long to proof dough in Instant pot
Set a timer to check at 30 minutes. Check whether the dough has double in size after 30 minutes and every 10-15 minutes afterwards up to an hour. For most common bread dough recipes, the dough will be doubled in 30 minutes.
However, at some lower altitudes, it may take an hour.
Some recipes like sourdough may require a much longer rising time. Follow your recipe proofing time and then check it at half the time listed on the recipe.
The warmer environment of the Instant Pot on YOGURT mode allows the dough to proof/rise quicker.
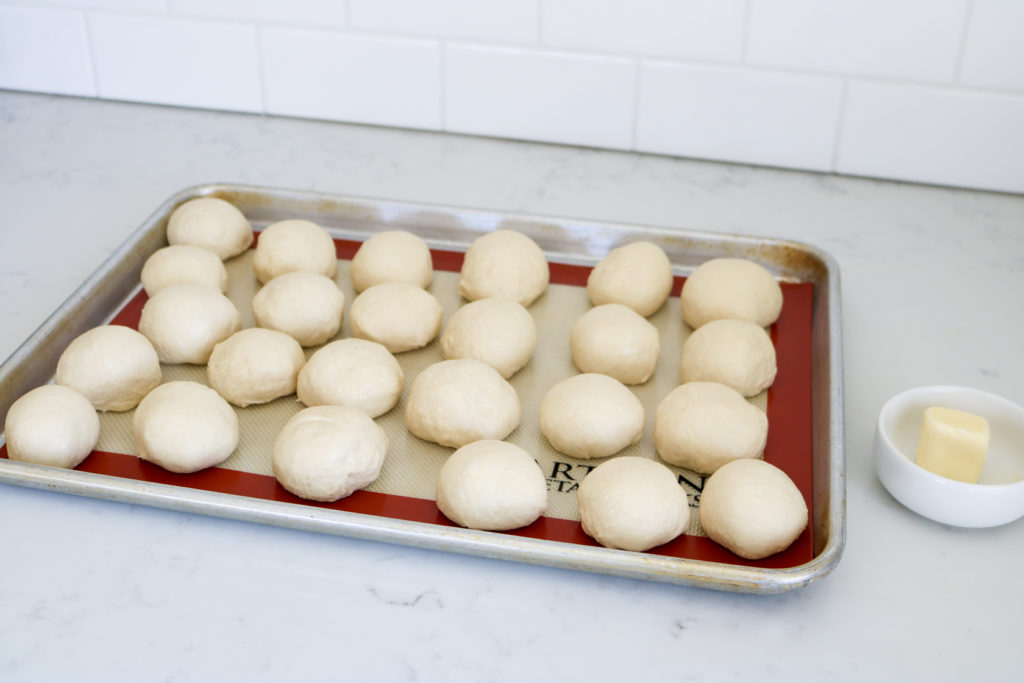
(Picture of dough shaped into rolls, ready for their second rise from my Best Homemade Rolls recipe.)
what comes after proofing
After dough proofing has been achieved, proceed back to the recipe you’re following. You may find that the recipe now calls for the dough to be punched down to release the gases, followed by shaping the dough into rolls or loaves for another rise.
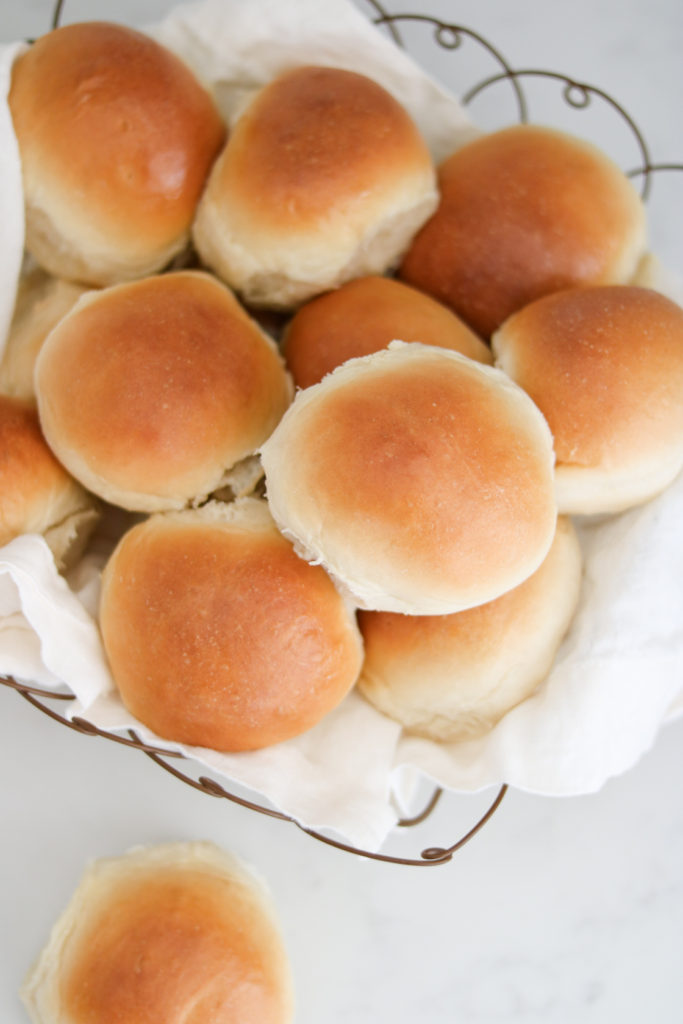
(Picture from Best Homemade Rolls recipe)
can i proof dough without the yogurt button
Yes, however it is a different method than the one described in this post. Instead, find out How to proof dough with Instant Pot Lux model without the yogurt button feature and you’ll get a list of the different methods to proof dough and a delicious bread recipe too.
That’s it! This little Instant Pot hack makes the dough proofing so easy and quick! Don’t be afraid to give it a try next time your making dough!
Need an Instant Pot Cheat Sheet for cooking times?
more recipes to try:


Do you think this would also work for pizza dough?
Yes, it would be perfect with pizza dough!
Can you use a rise pot?
I haven’t tried this method with a rise pot. I’ll have to try that!
My Instant Pot gives me a “lid” warning when I don’t use the lid, anyway to get around it? I would love to try this method
Does it give you the lid warning even when you’re using the Instant Pot in saute mode? If you’re using the IP without a lid for the other modes like saute or yogurt, it should work fine because those are not intended to have a sealed lid. If it’s constantly giving you a lid warning, then I would contact customer support at Instant Pot. They’re great at trouble shooting or sending a replacement part.
Could you use premodern frozen dough?
I haven’t tried that method yet to be honest. But now I’m curious to try!
Do you need to put water in your instant pot when you use the yogourt mode?
No, this dough rise method allows you place the dough directly in the bottom of the pot. It doesn’t get pressure cooked, so you don’t need water.
I used the yogurt function on low but it was still too hot and cooked the bottom layer rather than just proofing the dough :(( it turned out a mess and waste of ingredients and time.
Oh man, that is so frustrating! This might have happened if you pushed the yogurt button once, which will say BOIL. Keep pushing the yogurt button until it says YOGT, and that is the correct mode to proof the dough in. If you try to proof the dough on the BOIL setting, it will burn. Hopefully that will fix the problem if you want to try it again.
Could I use for 2nd rising if I have a loaf pan that fits my IP
Possibly! I have’nt used it for a second rise personally. But read the comment Sharon gave about her using a pan on top of the trivet for her artisan bread.
If your pot has a soy vide setting you could probably use that as it will stay at any temperature you set it.
Thanks for sharing. I haven’t tried this with the sous vide setting so I can’t offer any suggestions on outcome of this method.
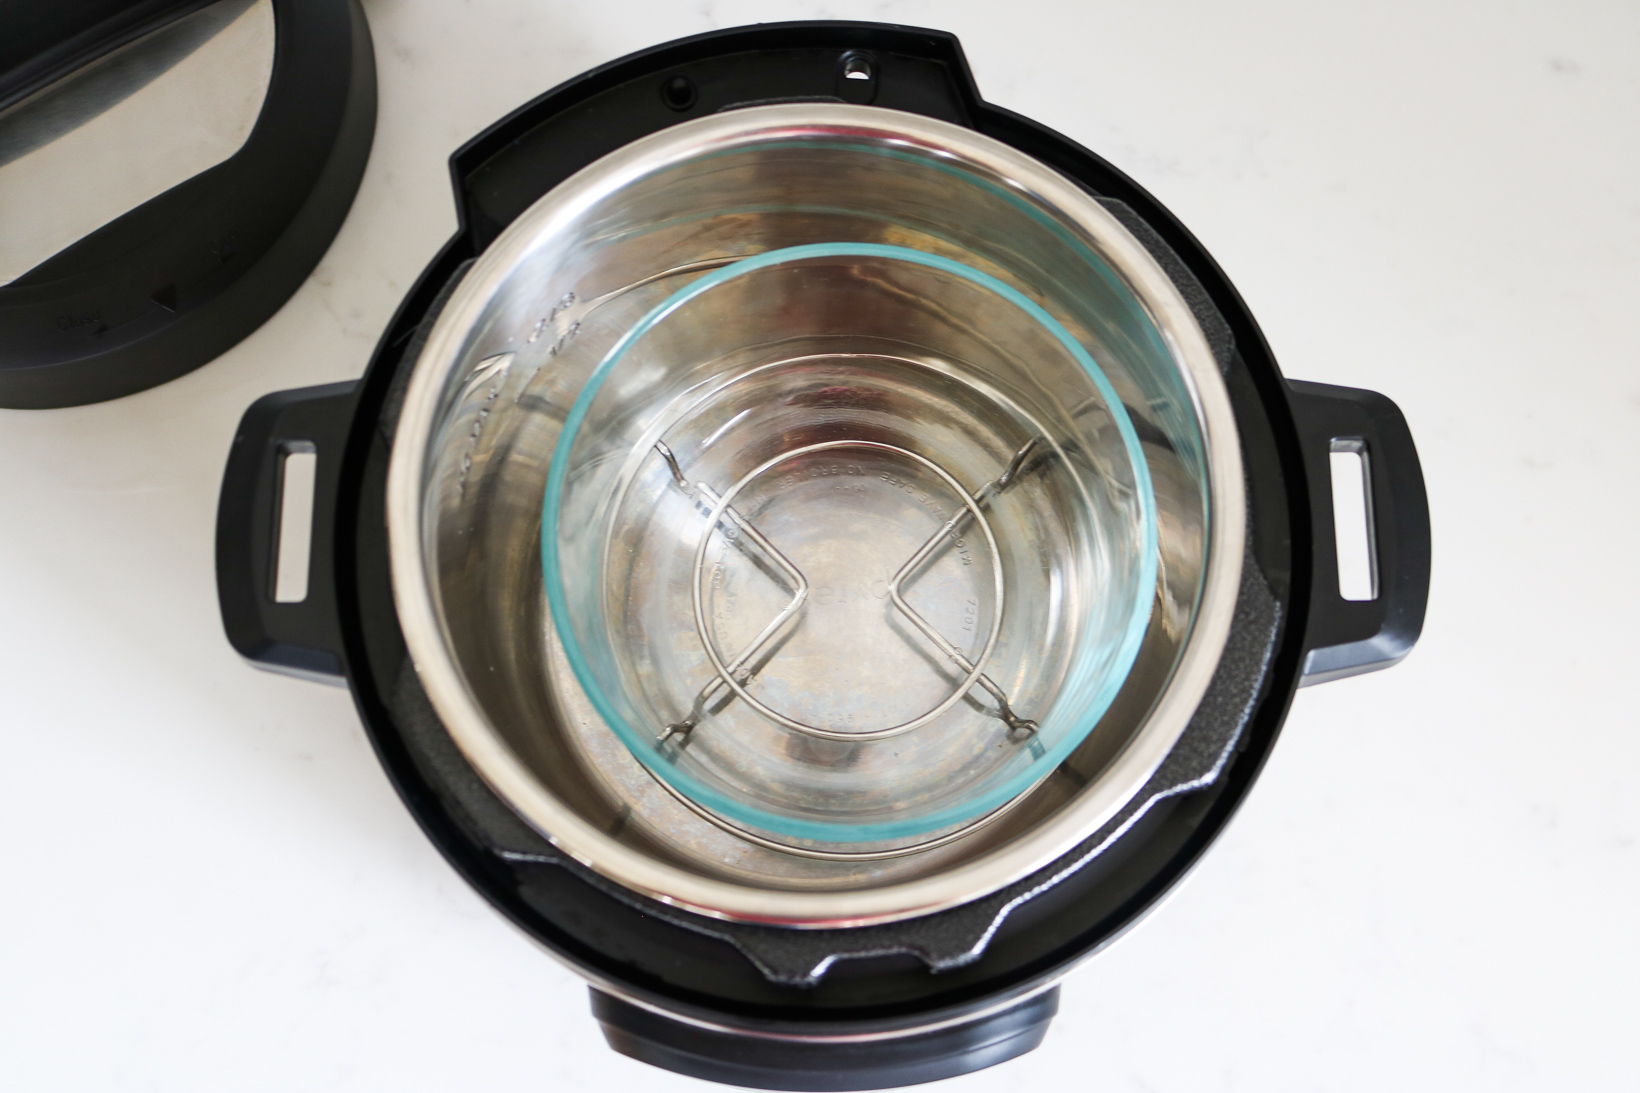
I have the Instapot Dual 6 model, and use it for proofing dough at least twice a week to make a round artisanal loaf. I place the dough in a greased Wilton cake pan with 4″ tall sides (wedding cake pan)which happens to fit perfectly inside the IP stainless steel pot. Place the steam rack in the bottom of the stainless pot and put the cake pan with the dough on top of the rack. That keeps the heat away from direct contact with the dough. Put the glass cover on the IP and press the yogurt button. It automatically sets the time to 3-1/2 hours, low temp. The dough proofs perfectly, ready to be shaped into a loaf for baking.
Your bread sounds incredible! Thank you for sharing your tips and method for the artisan bread. My daughter wants to try this method next since she likes to cook hers in the dutch oven but wanted to see how proofing with the IP would do for her artisan bread too!
My Instant Pot Duo SV will not activate the yogurt setting without the lid. It does not require a lid for the sauté feature. I think it is worth noting in the recipe that some pots might not function on the yogurt setting without the lid “in the correct position” according to the troubleshooting section of the manual.
Thank you for your feedback! I didn’t realize the DUO SV model functions that way with the lid.
I have a single loaf and a double loaf white bread recipe.
Can I use the double loaf in the 6 qt pot?
My recipe I make for bread dough is double loaf so you’re good to go using two loaf recipe!
I have a IP lux 6qt. I don’t have the yogart button but have a cake, steam, multigrain, rice, porridge button. Could I proof bread with either of those sertings?
Yes Angie! You can use your Lux model to proof bread following the method in this blog post https://jenuinehome.com/best-homemade-bread-recipe/
I tried setting my 6 quart on yogurt with low pressure, no lid, just a glass cover, and the dreaded BURN notice came up. I had the pot with dough on a trivet. Was I supposed to put water in it?
Which model Instant Pot are you using?
what on earth is a rise pot?
I have the Instant Pot Duo SV 6. I used the Sou Vide function but set the temperature at 35 deg C. I also put everything in my kitchen aid 5qt bowl to mix with my dough hook and proof with a Tea towel cover.
It worked great and only 1 bowl and a glass measuring cup to clean!
Tania, thank you for sharing your results with the Instant Pot Duo SV 6!
This works great for pizza dough!
Thanks Beth! So glad you liked it!
Do you think this would work with sourdough?
I haven’t tried it with sourdough. Usually sourdough works best with a slow or traditional rise to help improve the flavor and to continue to breakdown the gluten content in the dough. I suggest not using this speed proofing method and sticking to a traditional rise for sourdough.
Could you use a crockpot instead, set on “low”?
I’m not able to advise on crockpot settings, I’ve never tried it.
Is the recipe wrong? I’ve done this twice now- no change at 30 minutes , or even one hour! What am I doing wrong? Someone above said 3 1/2 hrs. That is alot different than 30 mins. Help?
Hi Melissa! I’m sorry you’re experiencing difficulties. Have you checked to make sure your yeast is live and active? If the dough hasn’t risen at all by itself (even without the instant pot), it could be that your yeast is old.
I have an Insta pot duo crisp do you know what I said the sous vide setting to poof my bread?
I’m sorry, I can’t advise on what to use for the sous vide setting. This proofing method is to work with the yogurt setting.