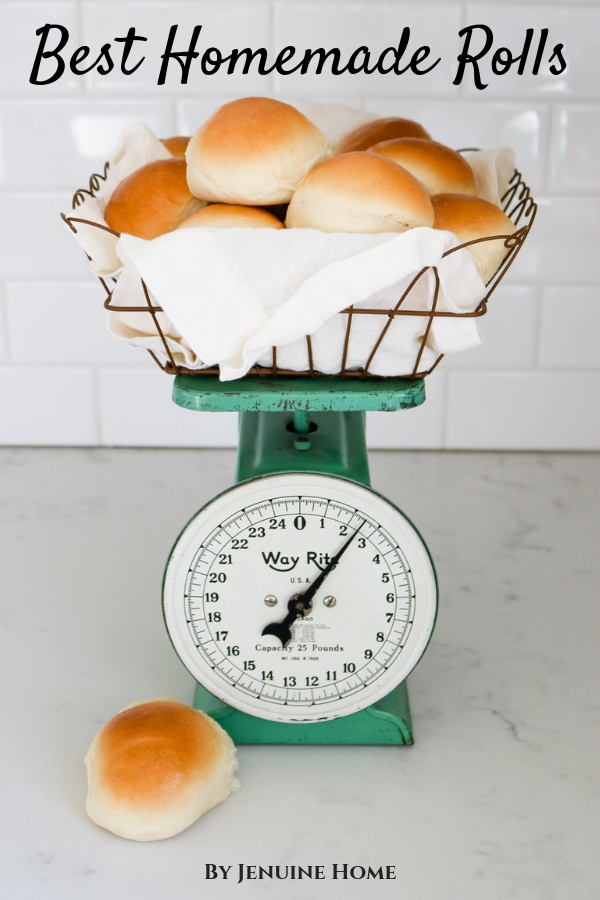
Best Homemade Rolls
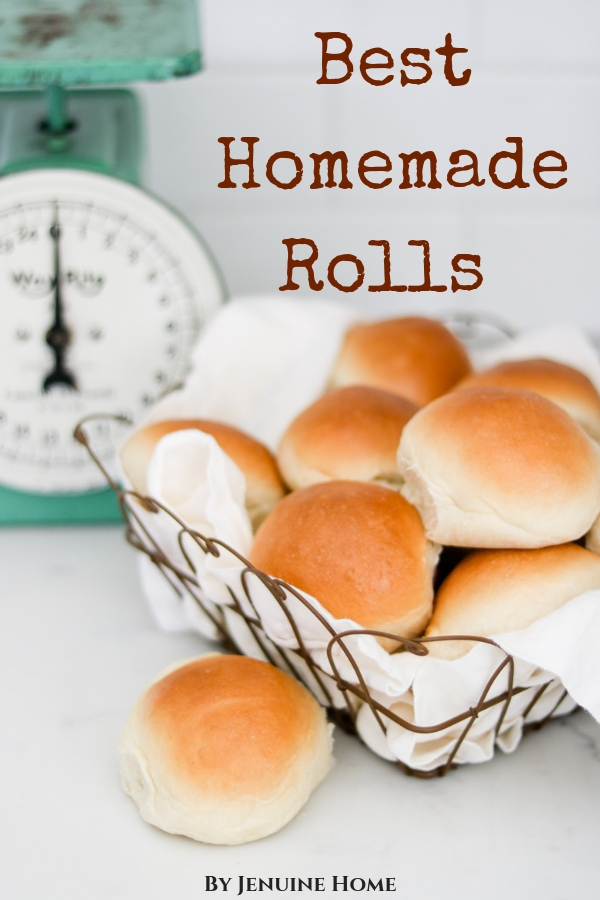
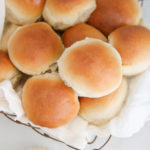
The best homemade rolls make the perfect companion side to any meal! Fluffy, buttery homemade dinner rolls just like grandma’s.
The best homemade rolls came into my life when our family was sharing a meal with my hubby’s childhood best friend. His wife, Markie, served us these rolls and we all died and went to heaven.
She graciously shared the recipe with me and it’s been our go-to homemade roll recipe for the last 6 years. I asked her if I could share with all of you and she again kindly agreed, lucky you!
This post shares the amazing homemade dinner roll recipe, step by step photos and my secret trick to making perfectly round dough ball shapes for those who are new to bread making!
(This post contains affiliate links. As an Amazon Associate I earn from qualifying purchases.)
Items Needed To Make Rolls
I use this cute pistachio green Kitchenaid Mixer for making bread, cookies, cakes, you name it!
However, I have my eye on a larger mixer like this one by Bosch, so that I can make a double batch of rolls, which I often need to do whenever we have family visiting from out of town for holiday meals. It’s on my Christmas wish list.
I currently have this large package of active dry yeast in my freezer because it’s so much cheaper to buy in bulk Costco vs the little individual packets. It lasts for a really long time in the freezer without going bad. I believe I’ve owned this particular package for over 2 years and am still only half way through.
If that feels like too big of a commitment, you can buy these smaller packets of active dry yeast
You’ll need some flour to make rolls. I recommend organic flour whenever possible, to avoid consuming grains sprayed with glyphosate.
You’ll need a large greased mixing bowl for the dough to rise in. If you don’t already have one in your kitchen, this one is a great choice.
I use a baking sheet size called, Baker’s half sheet, to make this roll recipe
I love my silicone baking mats and use them all of time. They fit perfectly inside my sheet pan. I even love using them for rolling out pie crust, sugar cookies or cinnamon rolls.
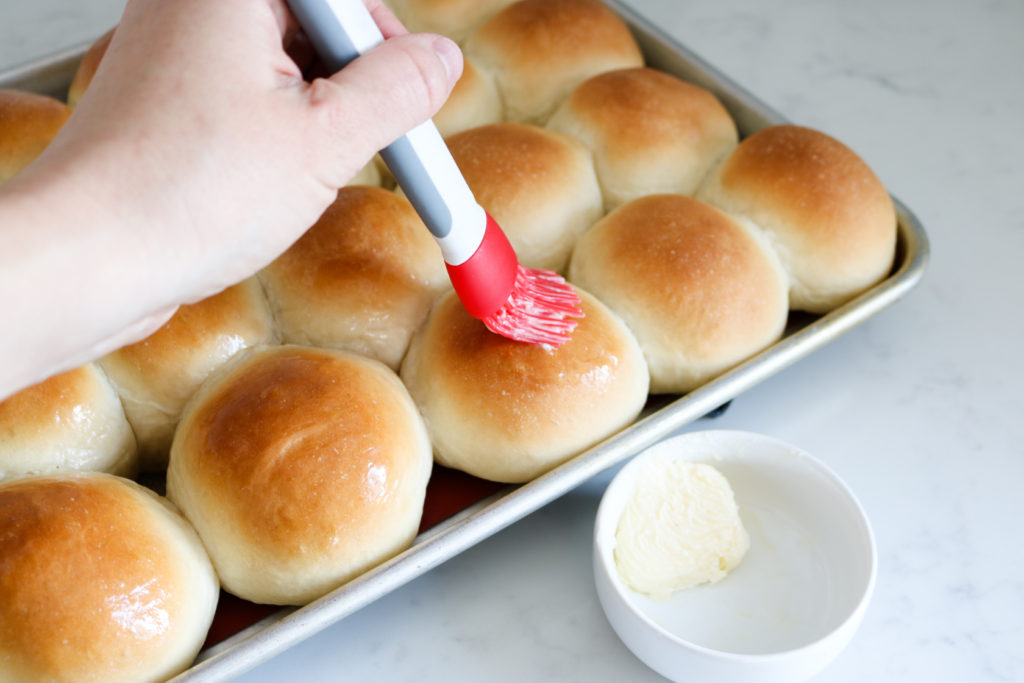
When the rolls are hot out of the oven, I love using a silicone brush for applying butter over the tops.
How to make Dinner Roll dough using a mixer
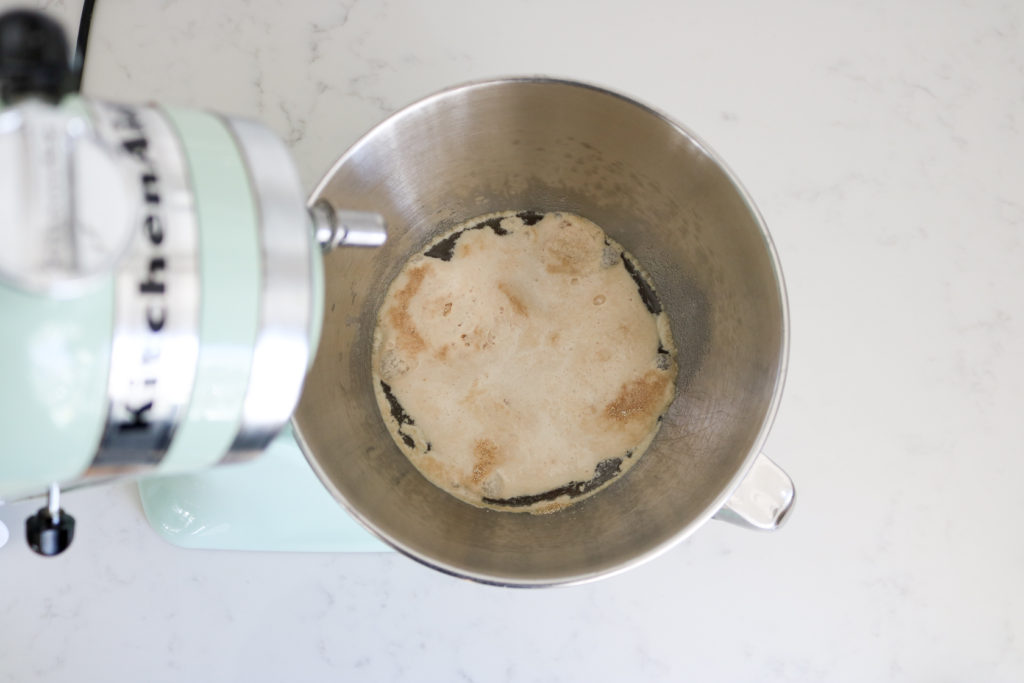
In a standing mixer bowl, add warm water, sugar and yeast. Wait until it becomes bubbly, about 5-10 minutes.
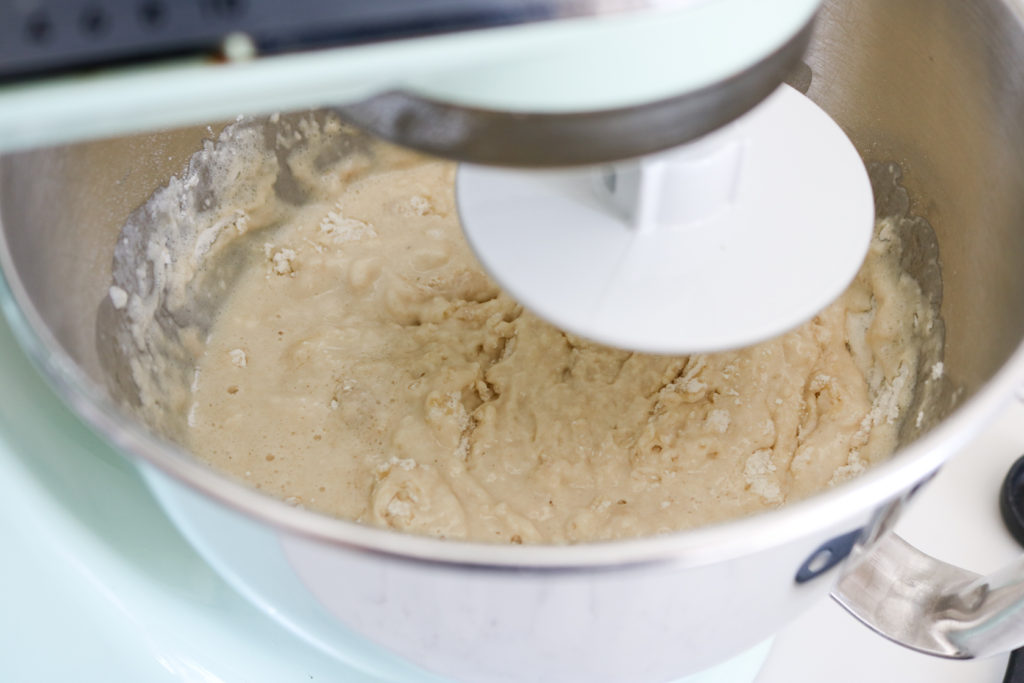
Add oil, 3 cups flour and salt. Using the dough hook attachment, mix together the dough on low speed until flour is incorporated.
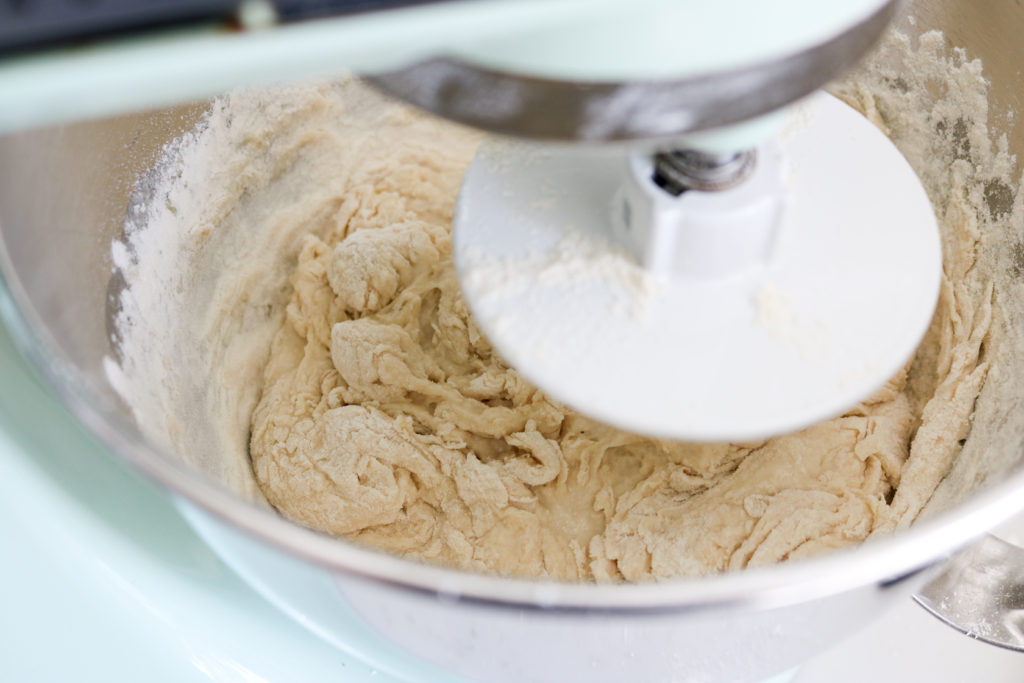
Add another 2.5-3 cups of flour to the dough while continuing to mix on low speed.
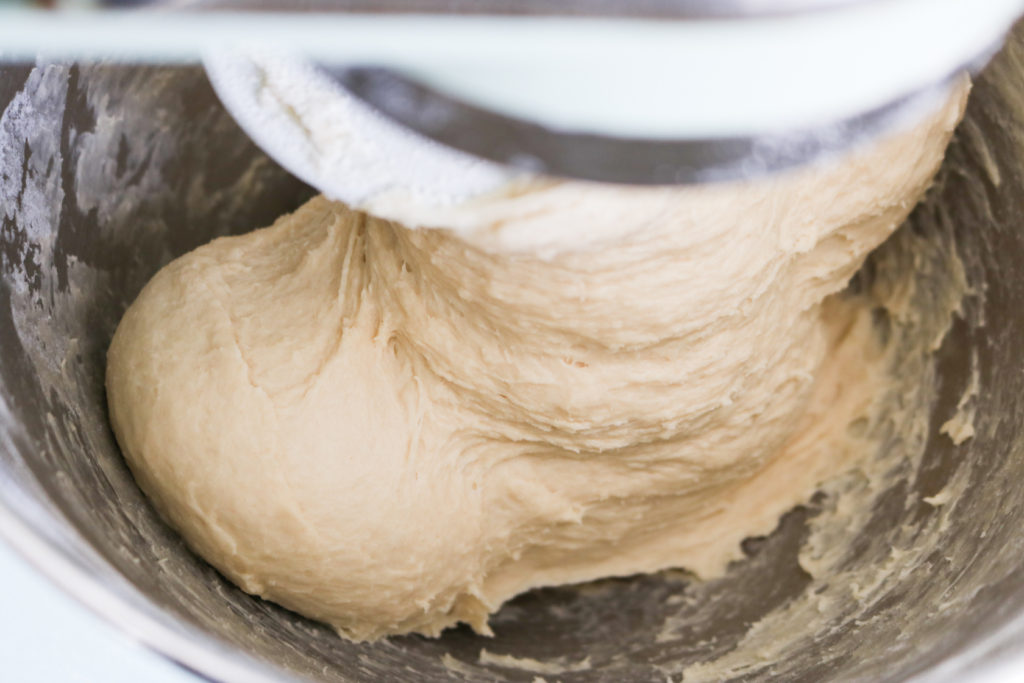
Dough is starting to pull away from sides but not ready yet. Keep going.
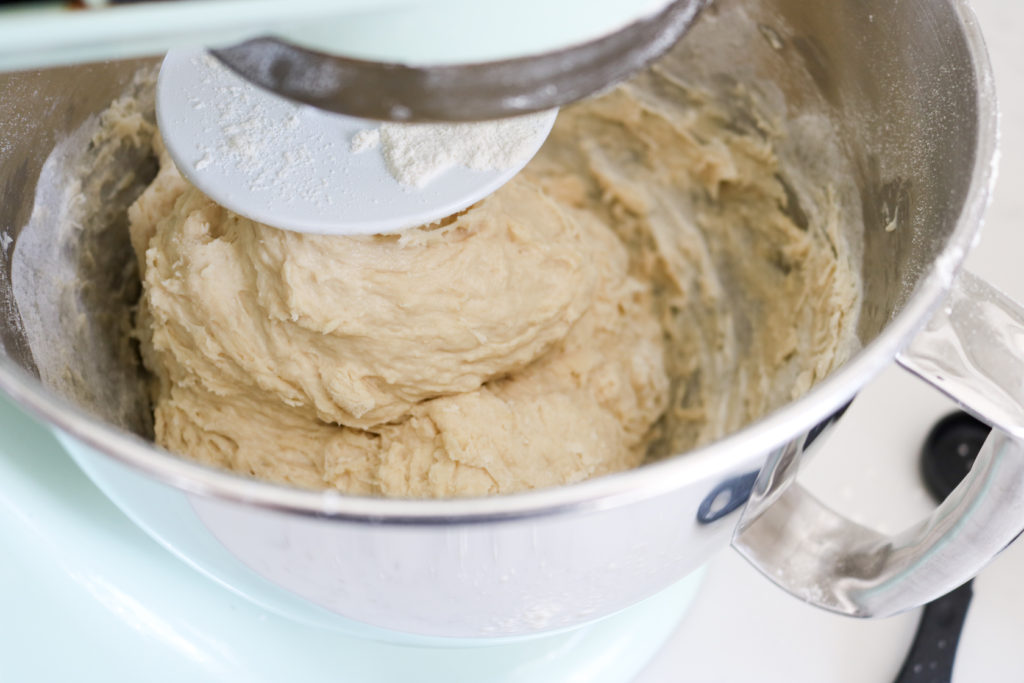
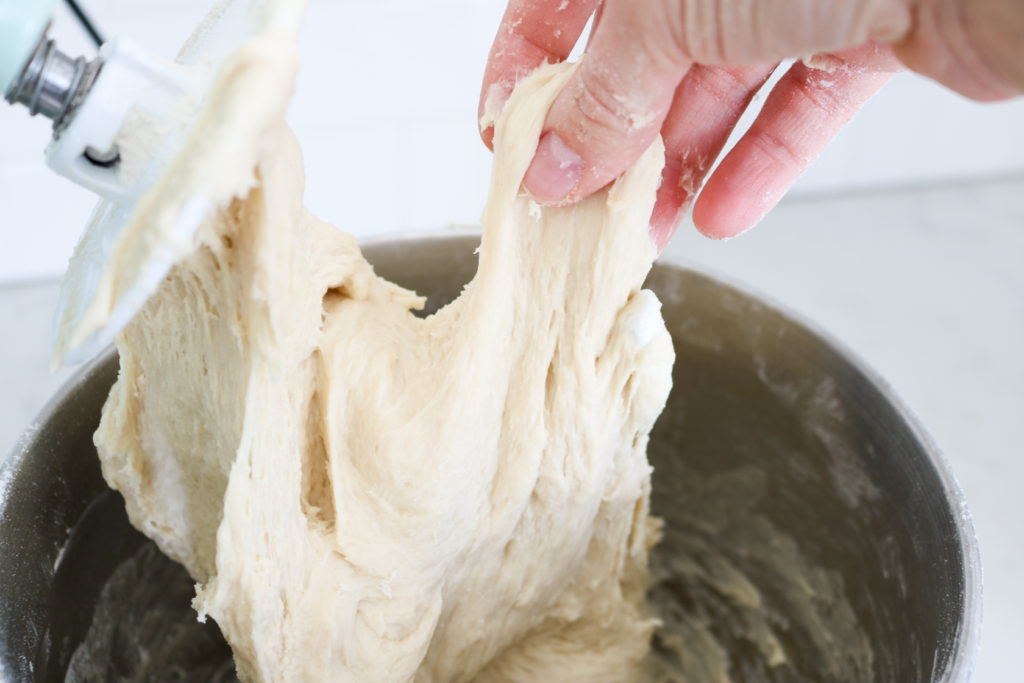
You’ll know you’ve reached the right amount of flour when the dough starts cleans itself from the sides of the bowl. The dough will also be soft enough to hold a shape but not so sticky that you can’t separate and remove the dough from off your fingers.
If the dough looks dry, you’ve added too much flour and slowly add a little water back into the dough until the desired consistency.
Every time I make bread, the amount of flour varies, depending on several variables.
Mix the dough for about 5 minutes to allow the dough to create a nice elasticity.
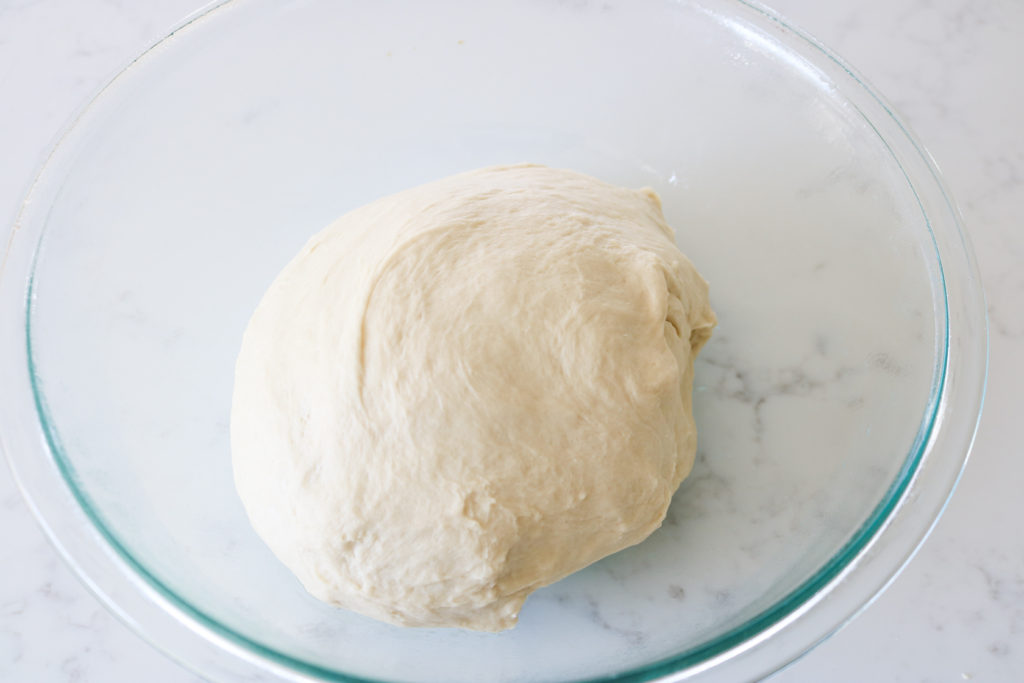
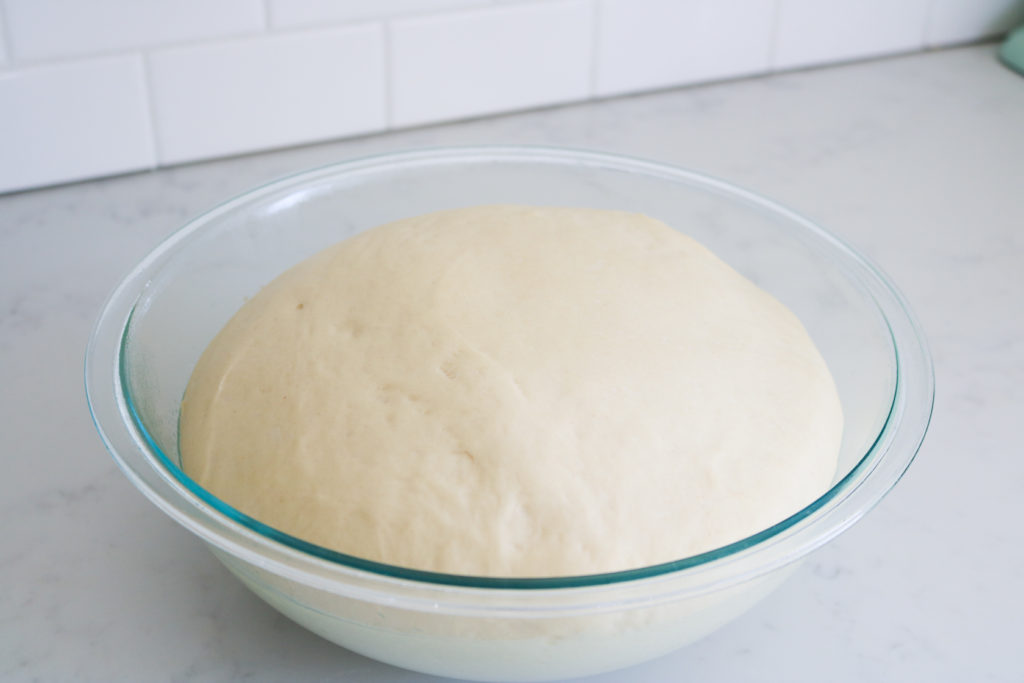
Grease a large bowl. Gently shape the dough into a general ball shape and place into greased bowl.
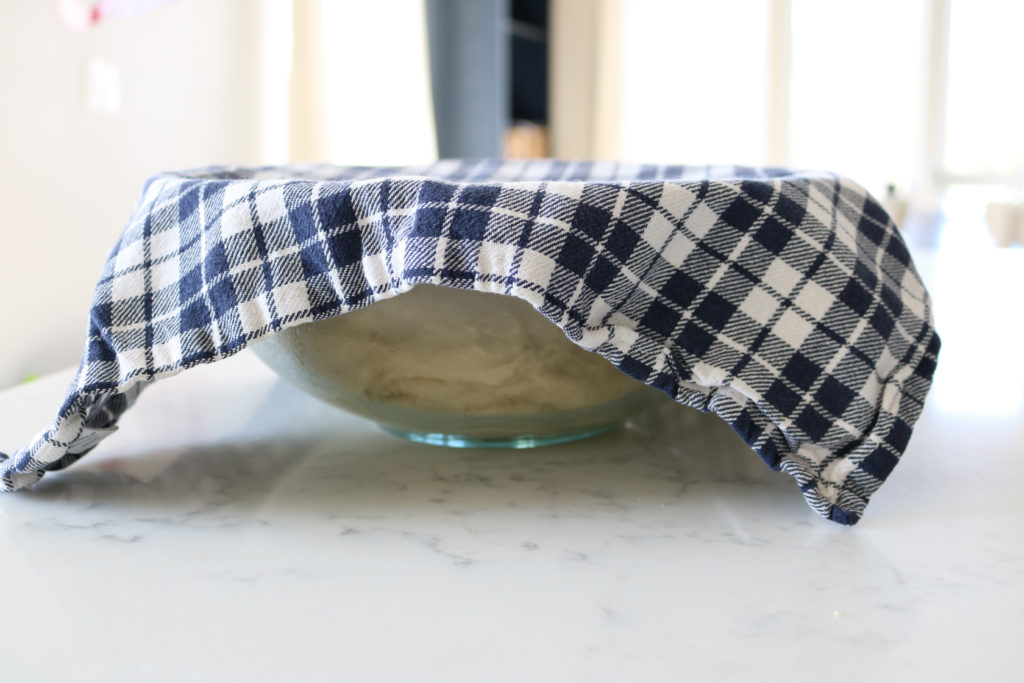
Cover with a thin towel (tea towels work great) and let rise for about an hour, or until doubled in size.
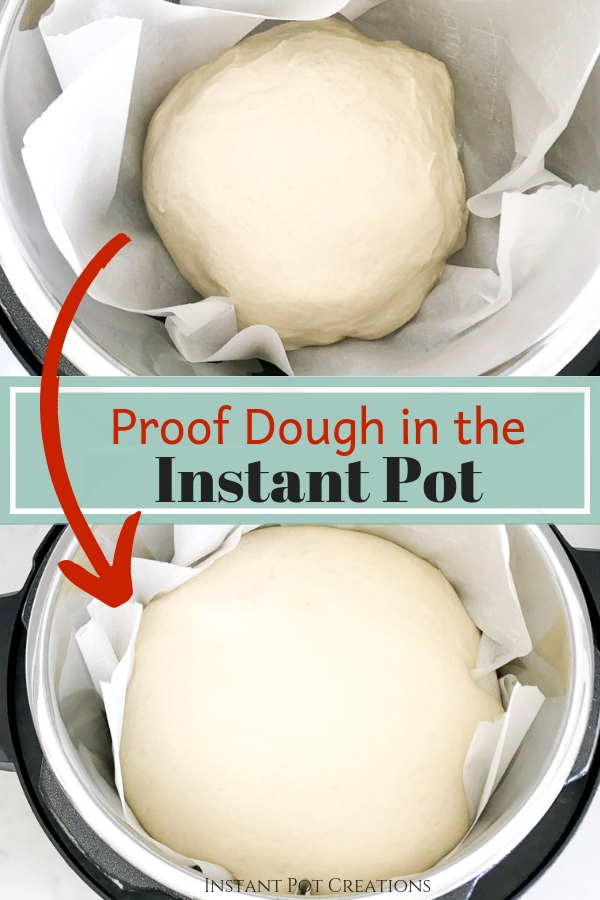
Or you can try proofing your dough in the Instant Pot to speed things up even more! I love using this method.
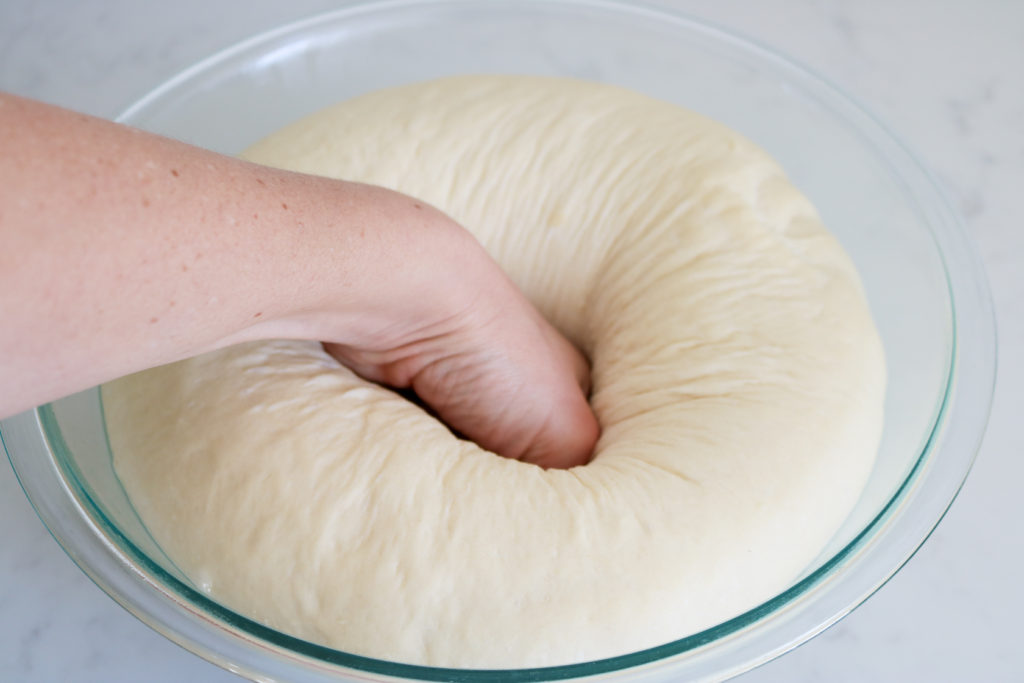
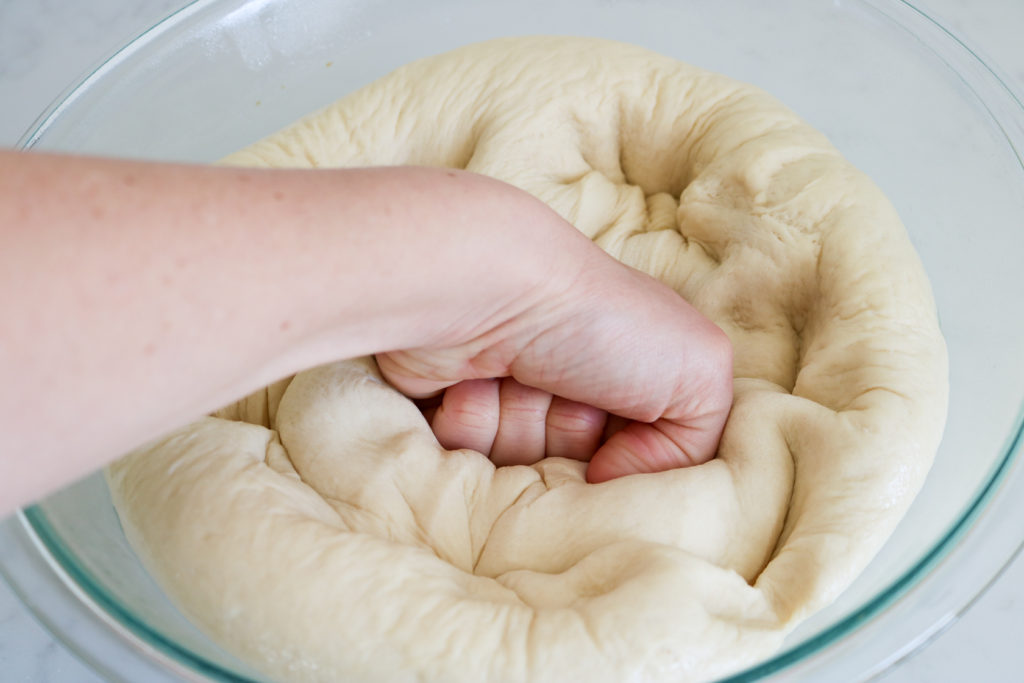
Punch dough down in the middle several times to remove all of the gas bubbles.
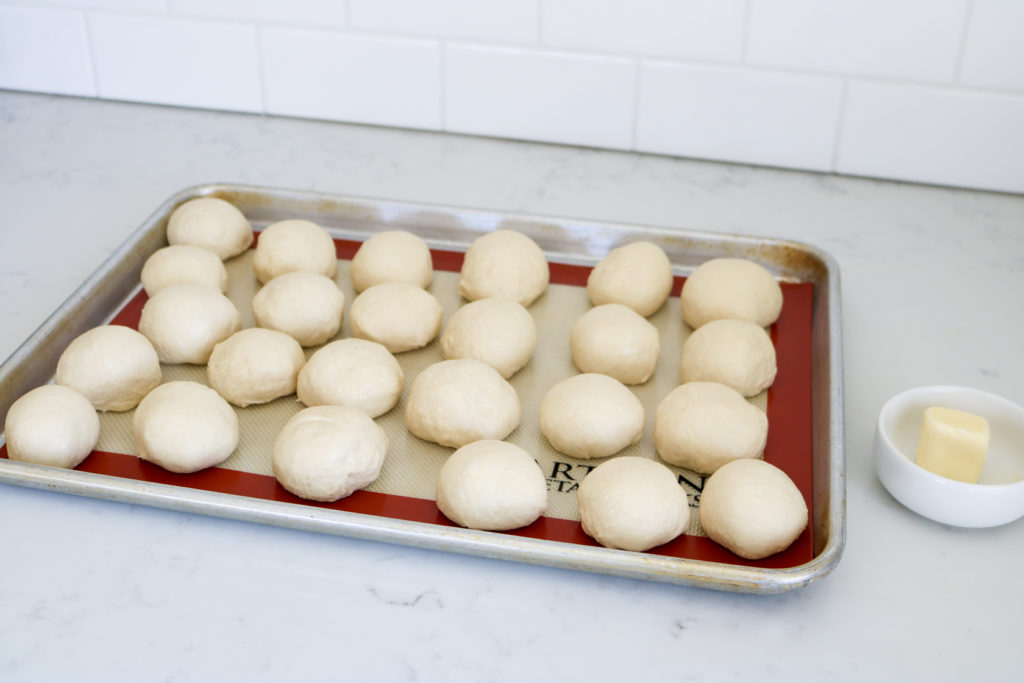
Using oil or some butter, grease hands. Rip off handful sized sections of dough and shape into rolls about the size of ping pong balls, using the pinching method shown in the video below.
How to make perfectly round rolls
My mother-in-law taught me this dough pinching technique. This finger pinch cuts off the dough on the bottom, giving the perfect end to the dough ball.
Want to know how to make those pretty homemade rolls that are perfectly round?
Watch the video demonstration to learn how.
Place dough balls onto either a greased baking sheet, 9×13 glass pan or a silicone mat lined baking sheet (my favorite). Allow room for dough balls to double in size in when considering placement on baking pan.
Repeat with all dough. Allow to rise until double in size, about 30-45 minutes.
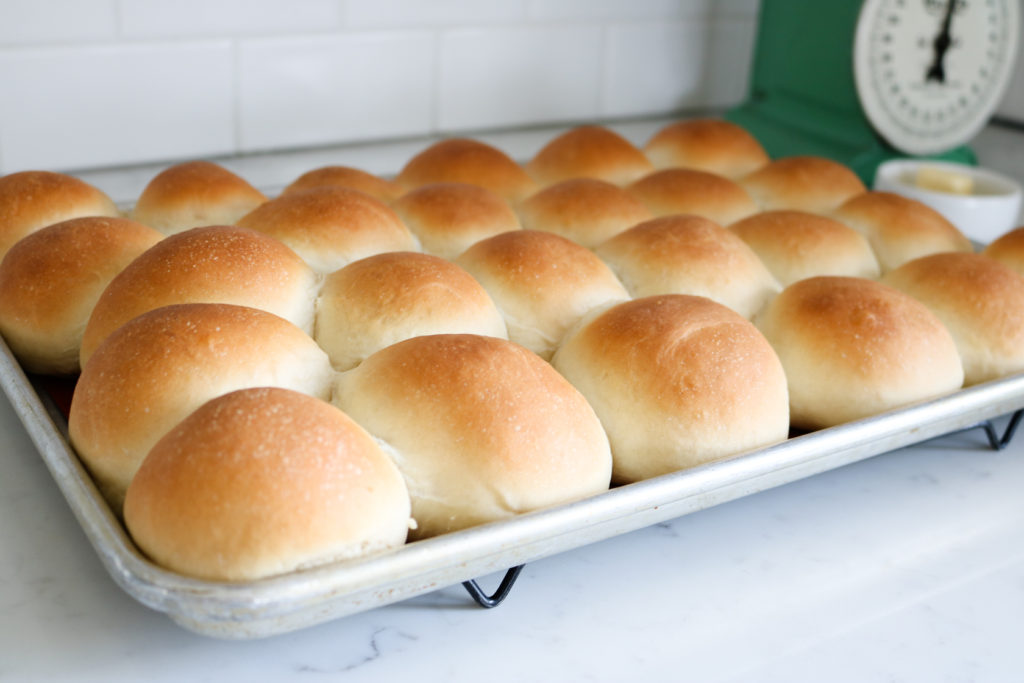
Heat oven to 350F. Bake rolls for 20 minutes, or until golden brown. Tops should sound hollow when tapping on top.
Remove from oven and onto a cooling rack.
For soft buttery rolls, spread butter (or nondairy substitute) over tops of rolls while still warm, using a basting brush.
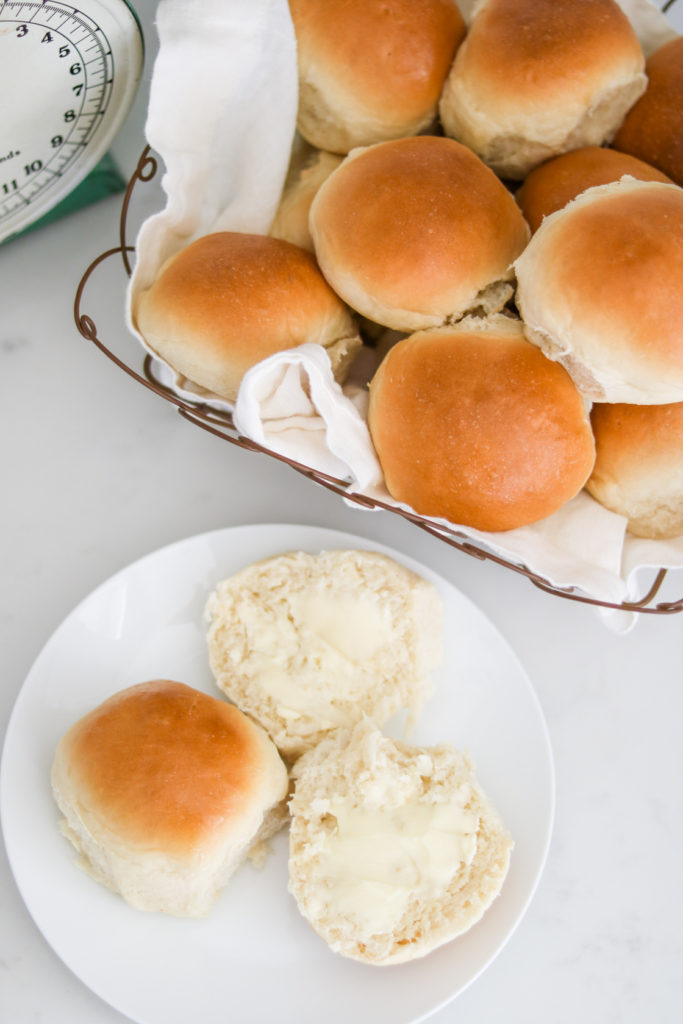
Serve warm and enjoy!
If you’re looking for a tasty way to eat your rolls, try these amazing turkey cranberry sliders!
FREEZE DOUGH BALLS
You can make the dough ahead of time to freeze to bake later! Make dough and shape into balls.
Freeze dough balls on a baking sheet lined with parchment paper or a silicone baking mat until frozen (about 1-2 hours). Place frozen dough balls into a ziploc freezer bag and freeze up to 3 months.
Make rolls from frozen dough
When ready to bake, place frozen dough balls onto a greased baking sheet or a silicone baking mat lined pan. Cover with a light tea towel or plastic wrap sprayed with nonstick spray. Allow to rise 3-5 hours, until doubled in size.
Remove cover and bake as directed on recipe.
More Baking recipes you might like
- Perfect Gluten Free Bread Machine Gluten Free Bread
- Gluten and Dairy Free Chocolate Chip Cookies
- Gluten Free and Nut Free Granola
Ingredients
- 2 cups very warm water almost hot
- 2 tbsp active dry yeast
- 1/3 cup sugar
- 2/3 cup olive oil
- 5.5-6 cups all purpose flour
- 2 tsp salt
- 2 tbsp butter for spreading on top of hot rolls
Instructions
- Add water, yeast and sugar into bowl of a stand mixer. Let rest for 5-10 minutes, until it becomes bubbly.
- Add oil, 3 cups of flour and salt. With dough hook attachment, combine all ingredients (except butter) on low speed.
- Continue mixing on low speed until flour is incorporated. Slowly add remaining flour cup by cup until dough cleans itself from the sides of the mixing bowl. Continue mixing for 5 more minutes to allow time for the dough to become more elastic.
- Lightly grease/oil a large bowl. Remove dough from mixing bowl and gently shape into a ball and place in the greased bowl. Cover with plastic wrap or a light towel and let rise until doubled in size, about 1 hour.
- After dough has finished rising, punch down the dough to remove the gases/air pockets.
- Using oil or some butter, grease hands. Rip off fistful sized sections of dough and shape into rolls about the size of ping pong balls. Place dough balls onto a greased baking sheet, 9x13 glass pan or a silicone mat lined sheet. Allow room for dough balls to double in size in when considering placement on baking pan. Repeat with all dough.
- Allow to rise in a warm/non-drafty area until doubled in size, about 30-45 minutes.
- Heat oven to 350F. Bake rolls for 20 minutes, or until golden brown. Tops should sound hollow when tapping on top.
- For the soft buttery tops, spread butter over tops of rolls while still warm, using a basting brush. Enjoy!








Nothing can be much better than making rolls at home. I really liked this amazing tutorial of making homemade rolls. Many thanks for sharing.
Thank you so much for your comment! I totally agree that homemade rolls are the best!
I ended up needing twice the amount of flour :/
How much flour did you end up using in total? As suggested in the recipe, I start out mixing in 3 cups of flour to incorporate the ingredients (and not end up with a big poof of flour coming out when mixing at first). Then I slowly add in another 1-1 1/2 cups of flour. The end amount ends up being 4 1/2-5/12 cups total being used. It can vary greatly depending on brand of flour and the environment in which you live. I live in a dry climate but when making this in a more humid climate, more flour may be needed.
I had the same issue. I think I ended up using an extra 2-3 cups or so (that’s in addition to the 5.5 cups already called for in the recipe). It was really wet. Do you think I could use less water next time? It’s proofing right now, so hopefully they’ll still turn out the same 🤞🏻
I’m sorry about that! I’m glad you added more flour to make the dough less wet, although it will still be sticky. It should turn out just fine!
Curious if these can be frozen after rolling into balls?
Absolutely! I’m so glad you asked! I’m going to go back in and add that to the post!
These rolls are awesome and I love proofing them in the Instant Pot. I’ve made them 3x and always get rave reviews.
Thank you so much for coming back and reviewing these rolls and letting me know that you’ve made them! So happy you love them! Merry Christmas!
Hi Jen, I am so proud of what you are doing. I miss you friend.
Pat Ambrus
Hi Pat! I miss you too! So nice to see your comment here!
Amazing recipe, tips, and I LOVE the video tutorial on how to get the amazing roundness! Since hubby and I are now empty-nesters, I made 1/2 for now and 1/2 is currently in the freezer… thank you so much!!
You’re welcome! I’m so glad the video tutorial helped. It really makes all the difference to making those beautifully rounded shaped rolls! And smart idea for using half now and freezing the rest for later!
WOW! These were so easy and delicious. I needed an extra cup of flour but otherwise everything was exact. The tip for making them round was so great. Thank you!!!
Yay! So glad you enjoyed them! And that little rounding trick is my favorite thing!
Is it possible to make this without a stand mixer? I’d love to make homemade bread but have been intimidated without a mixer. Thoughts?
Absolutely! You’ll just need to mix it in a large bowl with a spoon and then eventually mix in and knead the rest of the way by hand.
Have this proofing in the IP now. Have you gotten your Bosch mixer yet? I’ve been having my eye on one as well!!!
Yay! I hope you enjoy your bread! I’m still waiting for Santa to bring me the Bosch mixer this year. 🙂
Thank you for sharing your recipe for the best dinner roll, and the finger pinch video! My family was very happy to have fresh warm homemade rolls for Thanksgiving. I used a wooden spoon and my grandmother’s old bowl, which made mixing special for me.
You’re most welcome Laura! I love that you used those nostalgic items in making them too, that’s so special!