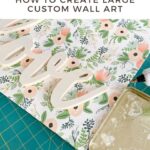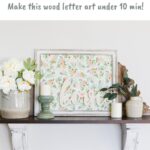

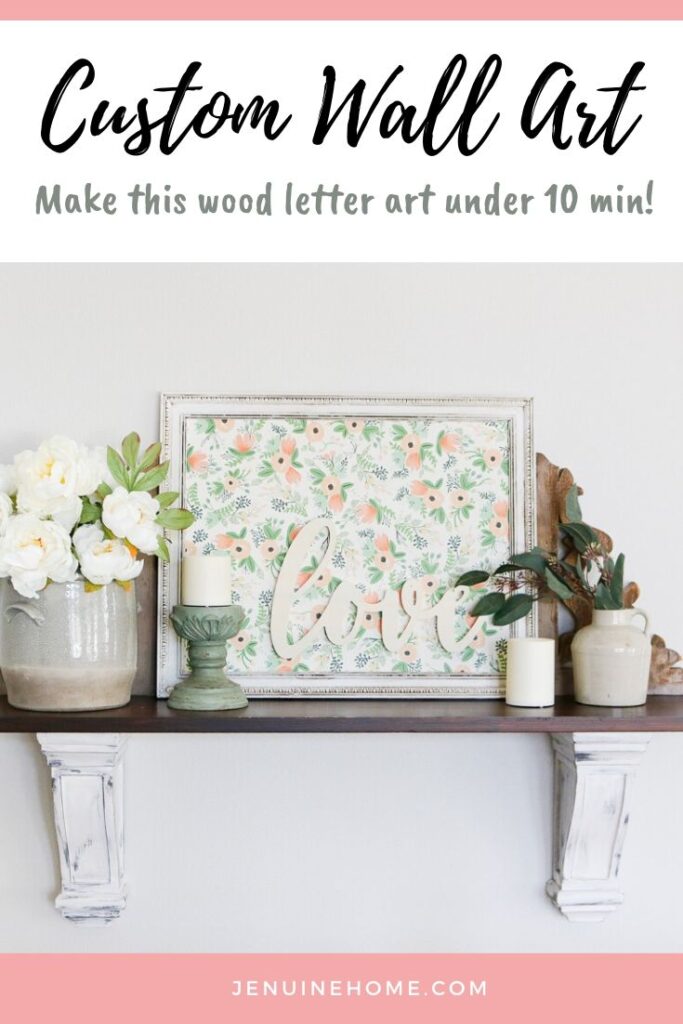
Easy Wood Letter Art Sign
Create your own custom wall art for your home with this inexpensive, quick and easy wood letter art sign tutorial in less than 10 minutes!
Creating Custom Art for Decor
This easy wood letter art comes together in less than 10 minutes! I love creating custom decor art that is unique, pretty and is budget friendly.
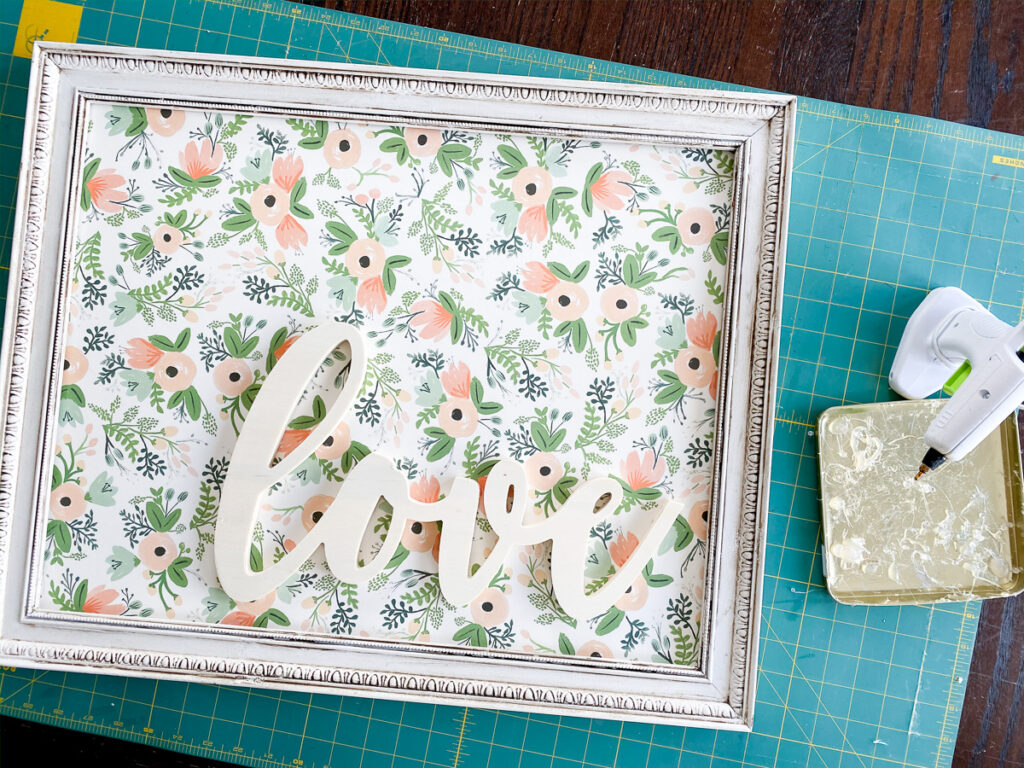
I made this DIY LOVE art as part of my Valentine’s Day Decor.

You can see my previous version of this diy wall art decor in this post here as GATHER wood art. As you can see, I love Rifle Paper Co. wrapping paper for making decor!

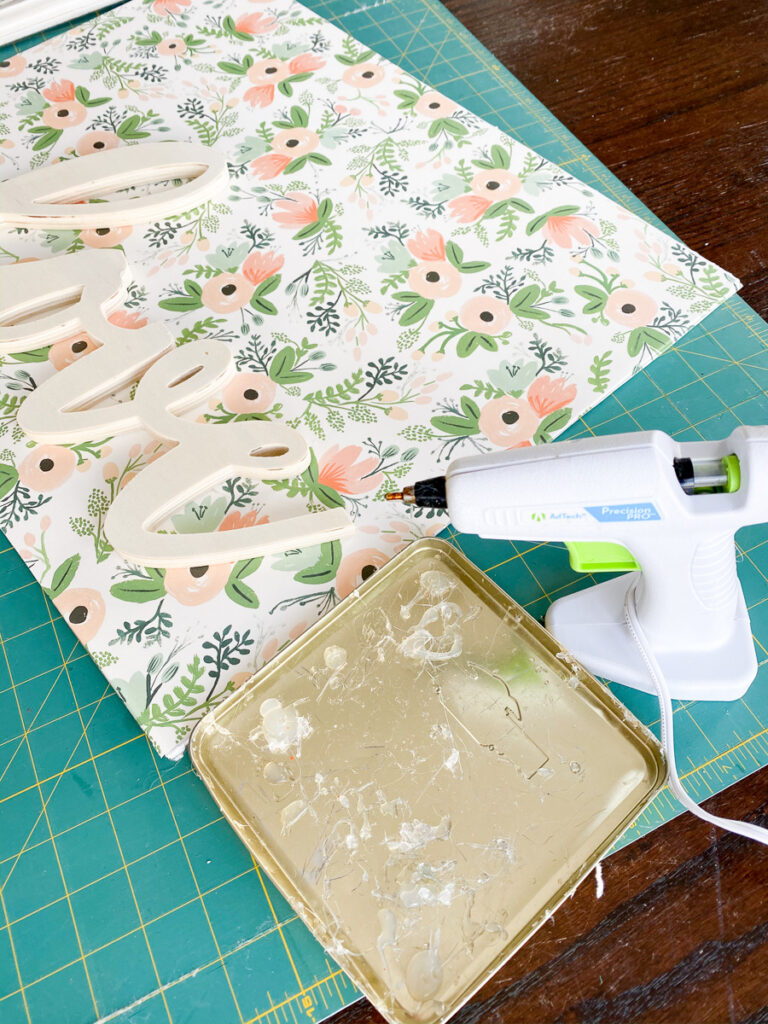
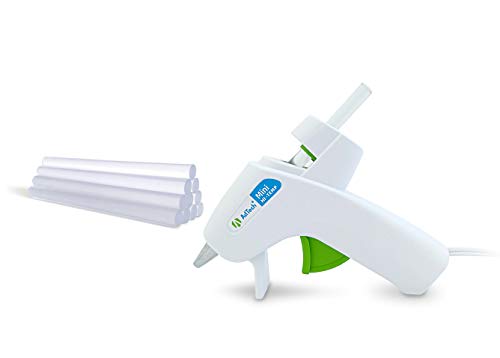
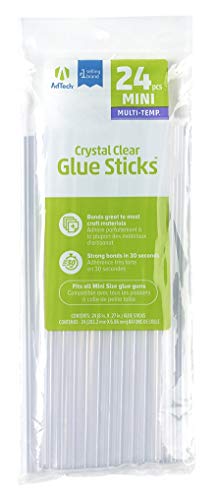
Supplies to make this easy wood letter art sign:
You probably already own most of the supplies listed, but in case you don’t, I share links below to supplies you can buy to complete this easy wood décor art.
Since I already had most of the supplies, I only needed to buy the wrapping paper, wood letter cut out and foam board. I used a $1 thrifted frame that I had already painted and glazed prior.
 (This post contains affiliate links. As an Amazon Associate I earn from qualifying purchases.)
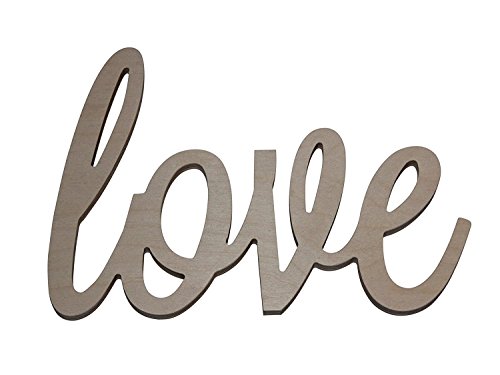
I bought my LOVE wood art lettering cut out from Michaels using a coupon, but here are some other similar options from Amazon:
This love wood lettering cut out here

![]()
Or this love wood cut out here
![]()
![]()

![]()

Frame (use without mat) or use a thrifted frame

![]()

![]()

![]()
![]()
Hot glue sticks (mini to fit gun above)
![]()

![]()
3M Command Strips (optional)

![]()

How to make easy wood letter art:
- Plug in your hot glue gun.
- Using the X-Actor knife, cut the foam board down to size to fit snugly inside the frame. (Omit this step if your foam board is the exact size for the frame.)
- Place wrapping under foam board and trace the outline with a pencil. Cut wrapping paper down to size with scissors.
- Shake adhesive spray can well. Take foam board outside and spray one side with adhesive.
- Quickly bring back inside and place wrapping paper on tacky foam board. Smooth from center to outside edges to remove any bubbles.
- Apply hot glue to back of wood letter word. Place word onto wrapping paper in desired location.
- Place art board into frame.
- Apply 3M command strips to back of frame and hang on the wall. Enjoy your pretty art work!