
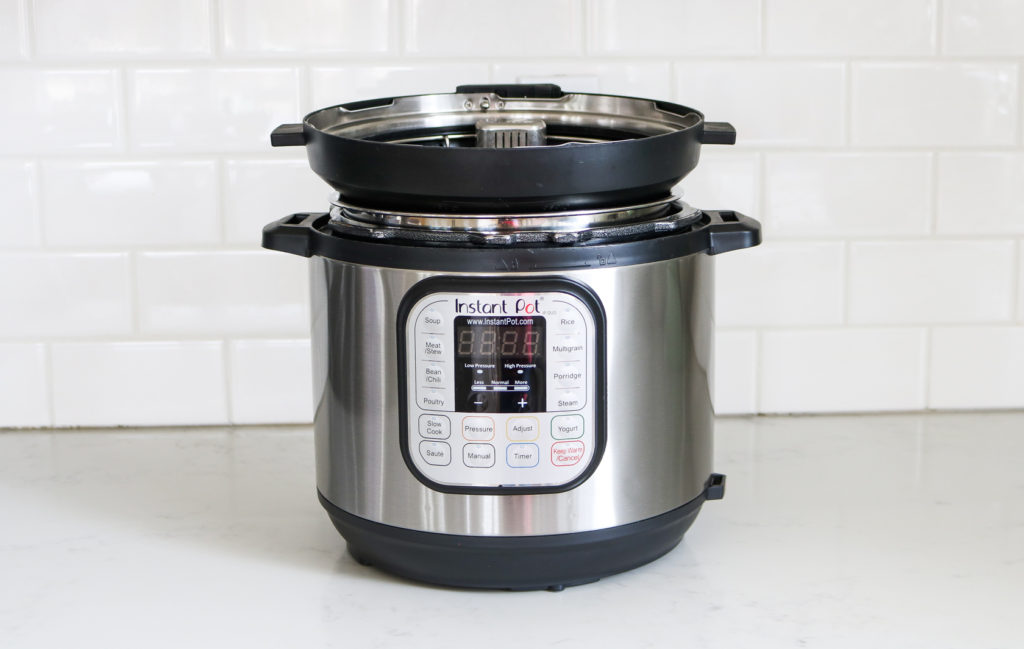
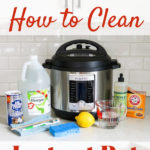
How to Clean Instant Pot 101
Confused at how to clean your Instant Pot? Should you wash the Instant Pot before the first use? Need to know how to deep clean the Instant Pot? Read on…

The Instant Pot is pretty easy to clean, it just takes a little time. The time spent maintaining the appliance is worth it for years of continued use.
(This post contains affiliate links. As an Amazon Associate I earn from qualifying purchases.)
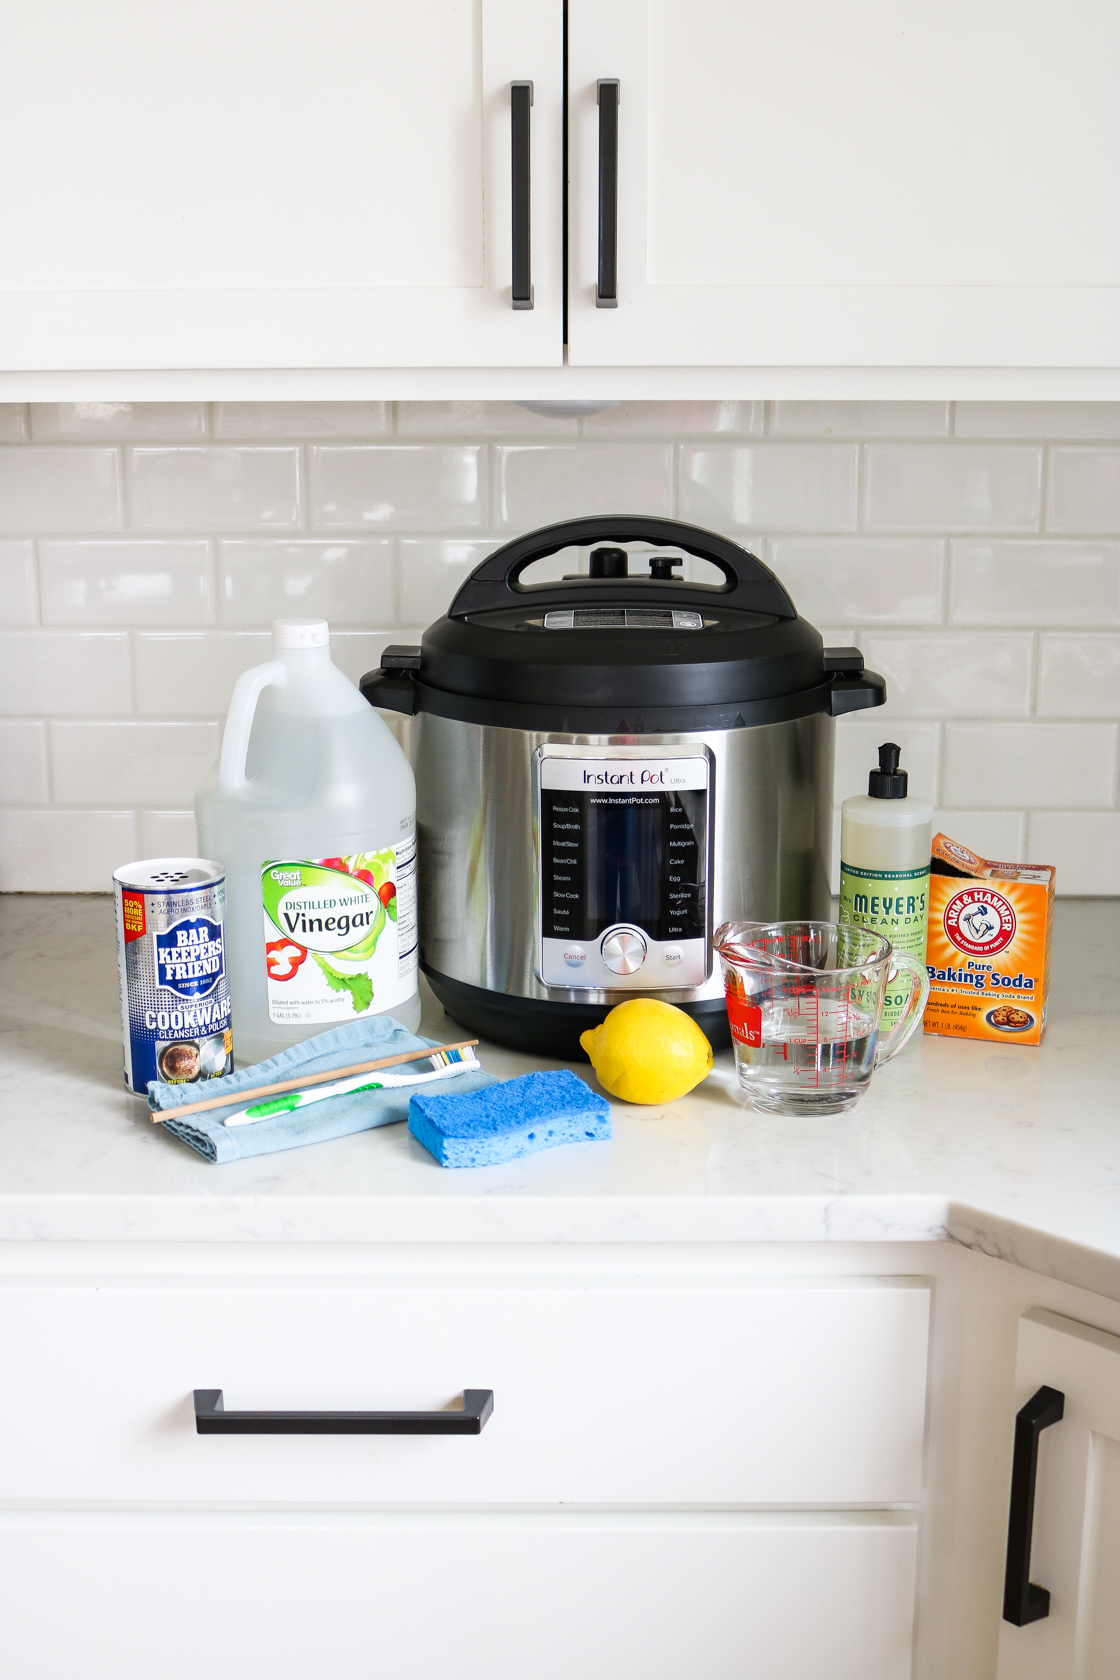
Suggest cleaning items
- Dish soap
- Dish sponge
- Dish scrub brush
- Old toothbrush
- Craft foam brush
- Baking soda
- Bon Ami powdered cleaner
- Bar Keeper’s Friend (when all else fails)
- Mrs. Meyer’s Multipurpose Cleaner
- White vinegar
- Lemon
- Chopstick or something similar to reach the hard to get crevices in the rim
- Small cloth such as a napkin or thin wash cloth
- Cotton swab
- Towel
Wash brand new Instant Pot
Should you wash your brand new Instant Pot before using it for the first time?
Yep. It’s always a good idea to wash anything you’re planning on cooking with before using it, even if it’s new from the manufacturer.
Using hot water and soap, you can clean it for the first time so that it’s ready to cook!
cleaning Methods
Now that you’ve used your Instant Pot, it’s time to clean it.
You’ll need 2 different types of cleaning methods:
- Everyday Use Cleaning Method is performed after every time you use the Instant Pot.
- Deep cleaning Method, needs to be done every few weeks, depending on frequency usage.
Every day cleaning Instant pot
It’s recommended to clean the Instant Pot after each use.
- Unplug the Instant Pot.
- Wash the inner pot (liner) by hand with hot water and soap, or wash in the dishwasher.
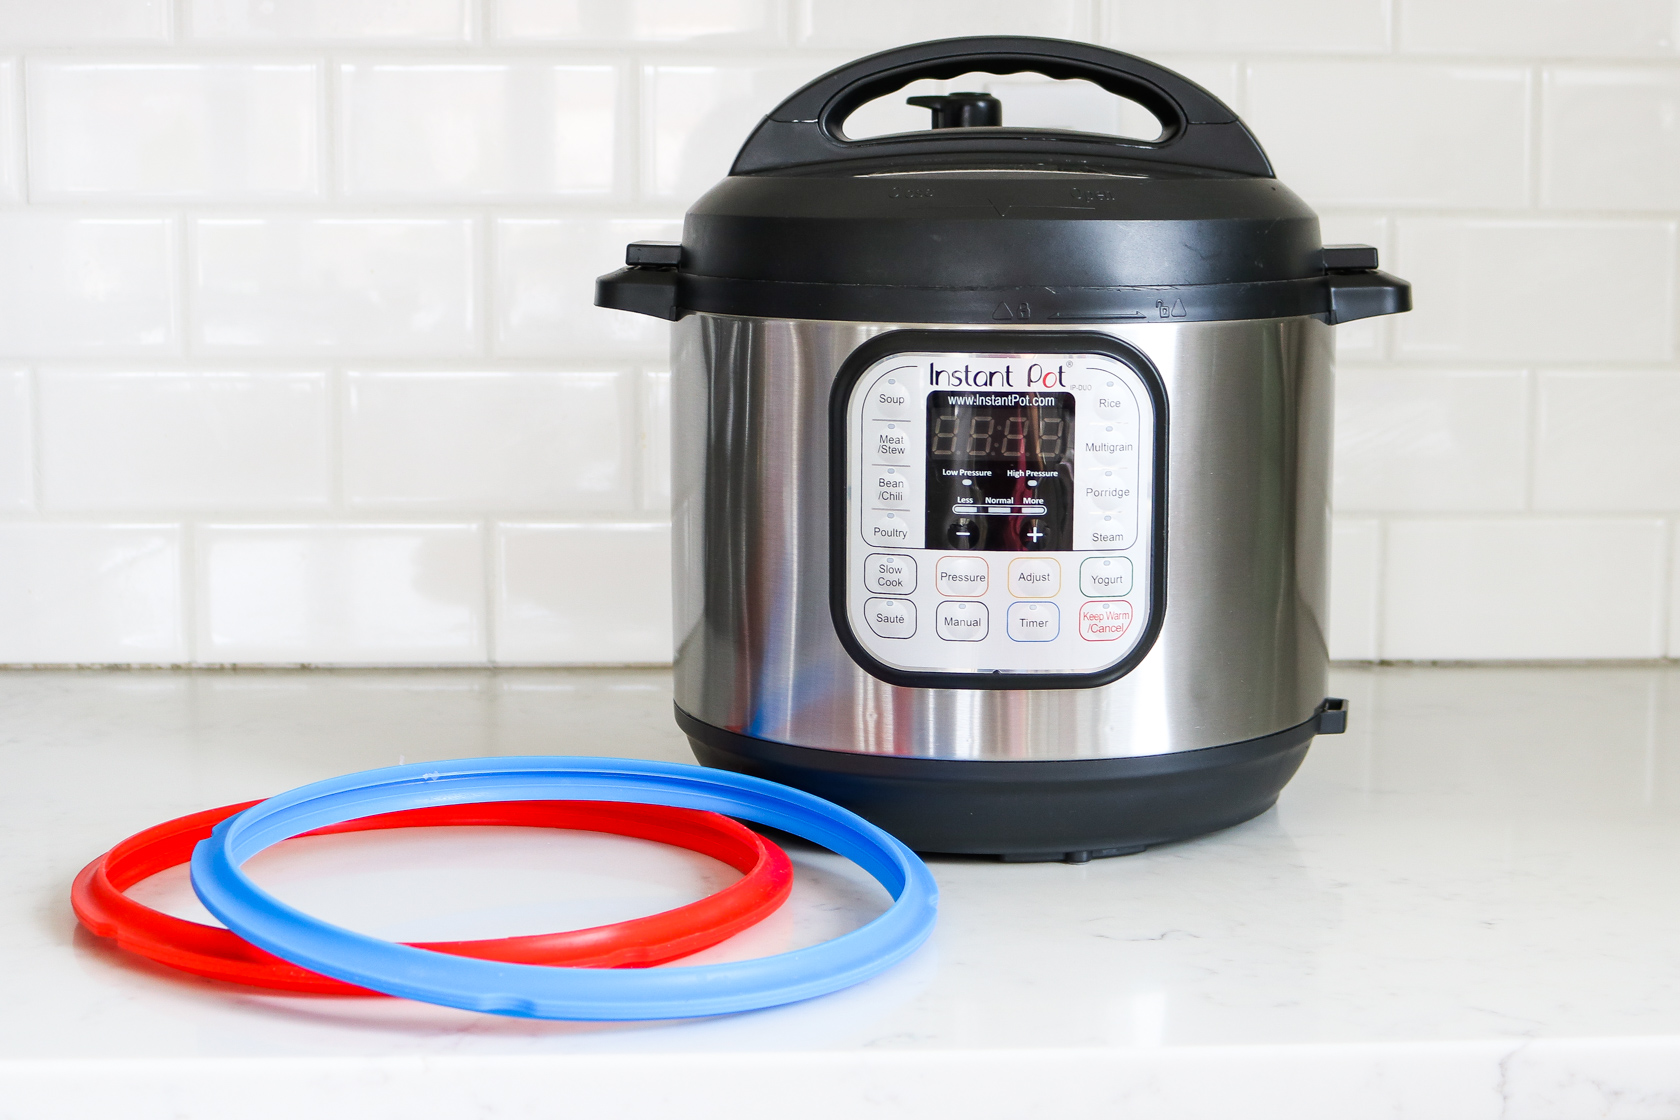
- Remove the silicone ring (shown further below) and either wash by hand using hot water and soap or place on the top rack of the dishwasher to clean.
- Wash the under side of the Instant Pot lid and drain/shake any excess water.
- Dry all parts.
Deep Clean Instant Pot
Every few weeks, or sooner depending on usage, the Instant Pot will need a deeper clean than the every day method.
Let’s start with this extremely dirty lid of mine. I cooked pasta in the Instant Pot and upon quick release, a bunch of starchy water started spitting out of the venting knob. It definitely needed a deep clean after this happened.

Ew, so gross and dirty!

And filthy on the bottom of the lid too.

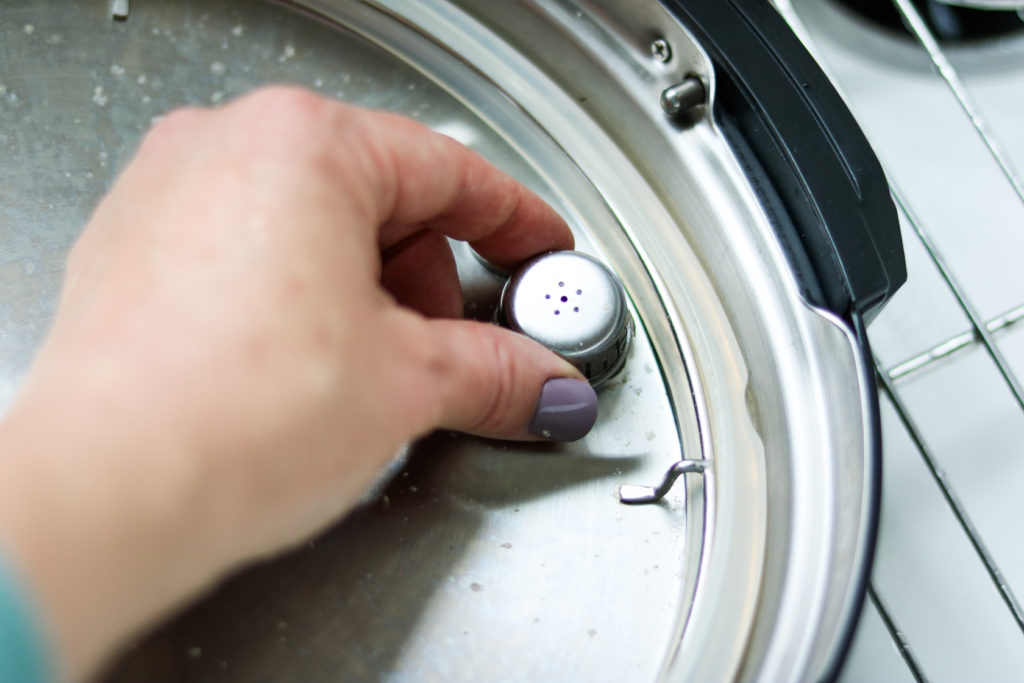
Step 1 – Float Valve
First, remove the float valve (venting knob) by gently lifting up, slightly wiggling it until it releases.
Wash by hand or in the dishwasher utensil caddy.
Make sure to check for any blockages by peering through the holes.
Step 2 – Anti-block shield
Next, remove the anti-block shield. Sometimes this can be a little stiff to remove. Give it a twist while pulling off and that helps.
Hand wash or in the dishwasher caddy.
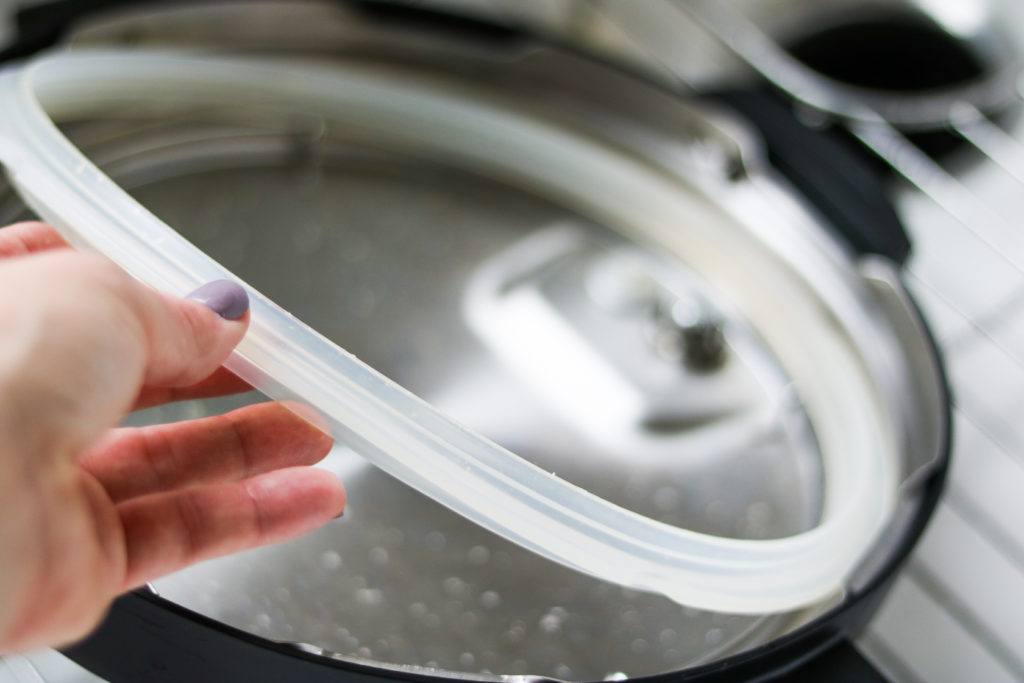
Step 3 – Sealing ring
Remove the sealing ring. If you’re removing this for the first few times, expect that this sealing ring may be difficult to remove.
If having trouble, use a utensil to help pry the ring off by one of the notched indents on the sealing ring.
The sealing ring can be washed by hand or on the top rack of the dishwasher.
I usually wash mine by hand because I forget that I need to wash the lid until the next time I’m ready to use it. Oops!
If your sealing ring still smells after cleaning it, find out how to remove the smells from your Instant Pot sealing ring.
Don’t forget to replace the sealing ring every 6-12 months, if using the Instant Pot several times a week. The ring can deteriorate, stretch out and might not be able to properly seal for pressure cooking.
If you notice any imperfections in the sealing ring such as cracking or tears, replace with a new one. You can find inexpensive ones on Amazon.
Step 4 – Clean Lid
Now it’s time to clean the lid. I always wash the lid by hand but it is safe to wash on the top rack in the dishwasher.
We have hard water in our area and to keep my lid looking as nice as possible, I wash it by hand. This preserves the nicer appearance from hard water build up and dishwasher fogginess.
Using a scrubbing brush, clean under the metal rim where the sealing ring goes. Then brush on top of the lid where the sealing knob goes.
Rinse well and shake/drain the water from the lid.

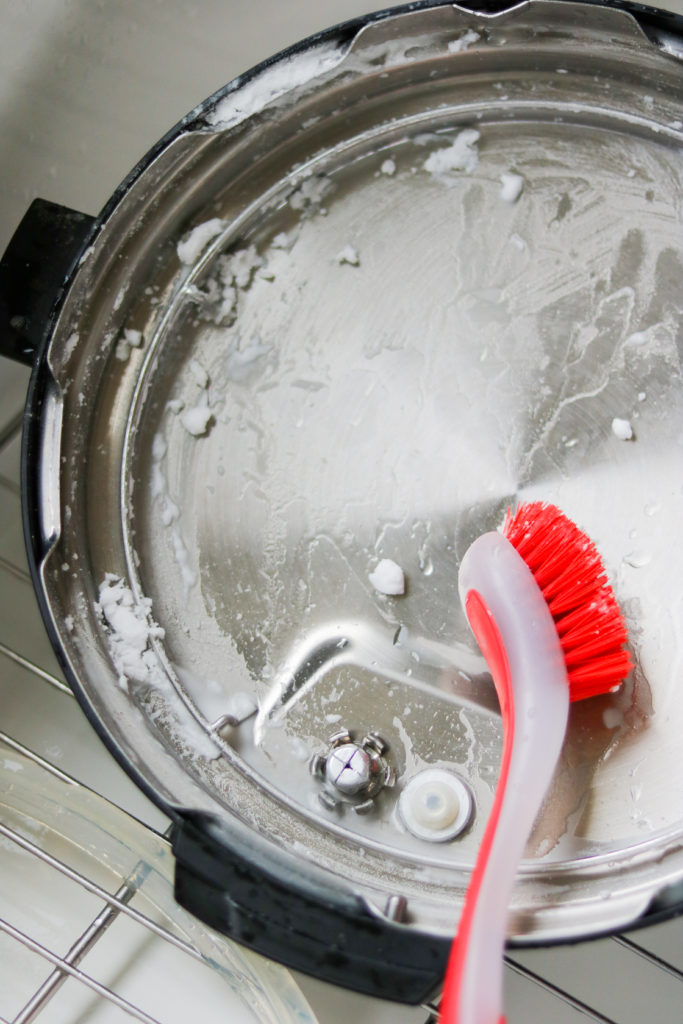
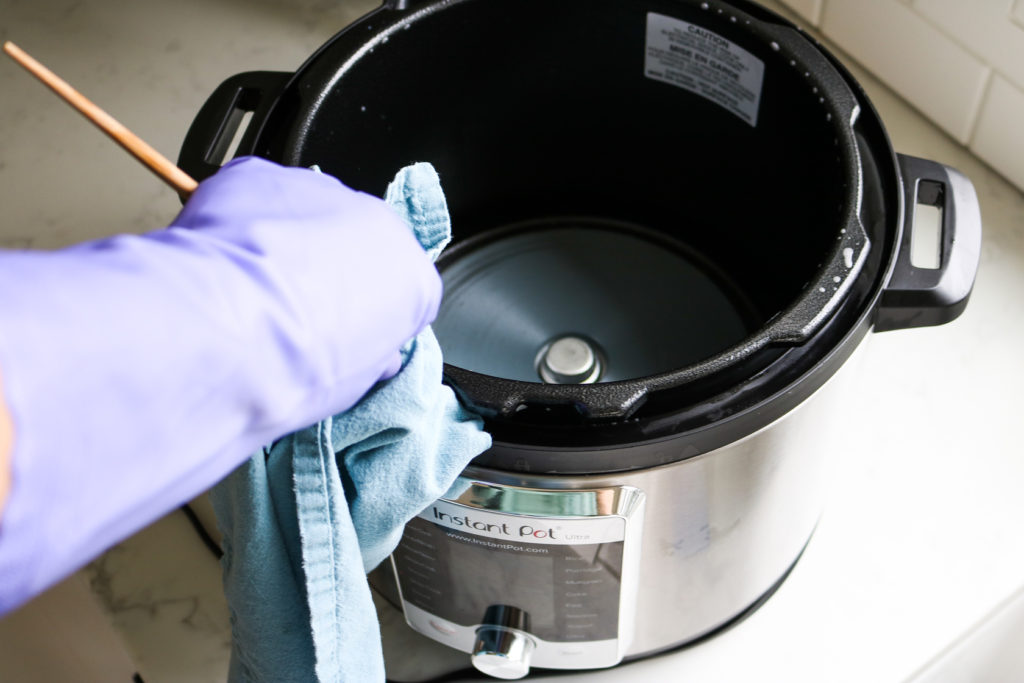
Step 5 – Clean Rim
Next, let’s clean the rim. There’s a space between the where the inner pot rests and the outside of the appliance. This rim is a crumb collection of meals past.
It’s gross. It’s hard to reach and clean out. It’s also a necessary chore to clean regularly.
Using damp dish sponge and soap, push the sponge into the gutter and follow along around the entire track, taking out the sponge to rinse off gunk periodically.
Or you can use a dish scrub brush to get in the crevices.
Some prefer to use an old toothbrush, or a craft foam brush. The main objective is to find an object that will fit inside the rim to clean it.

(Example of scrub brush to cleaning rim)
Step 6 – Dry Rim
I like to use a chopstick covered with a thin cloth napkin to dry the rim after cleaning.
Use anything that will fit.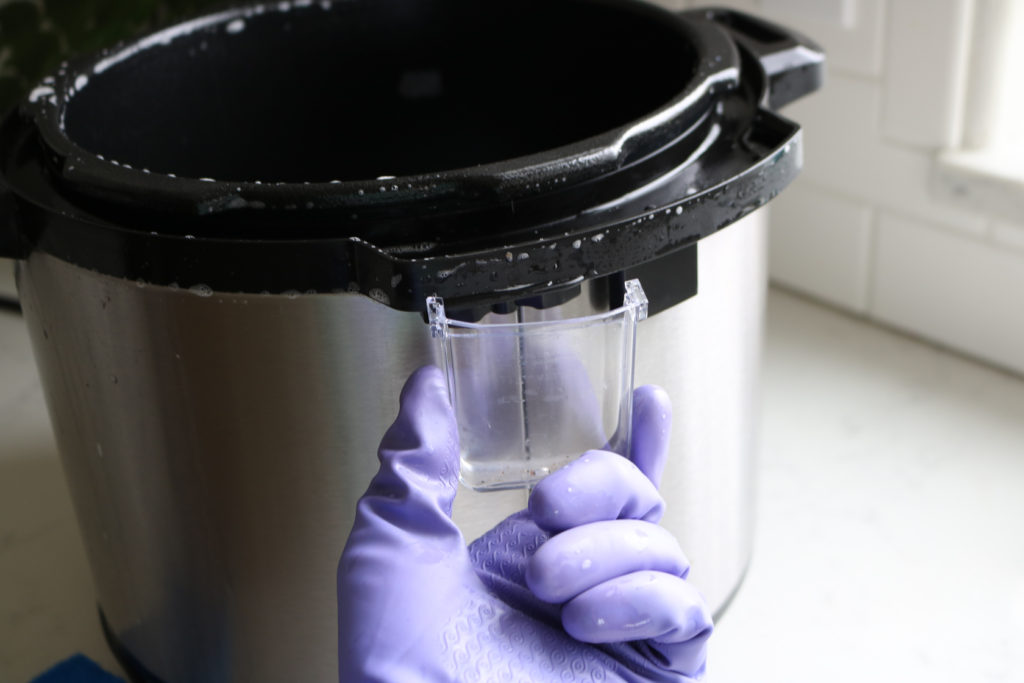
step 7 – remove condensation collector
Remove the condensation collector cup by sliding off the back. Empty contents and wash regularly.
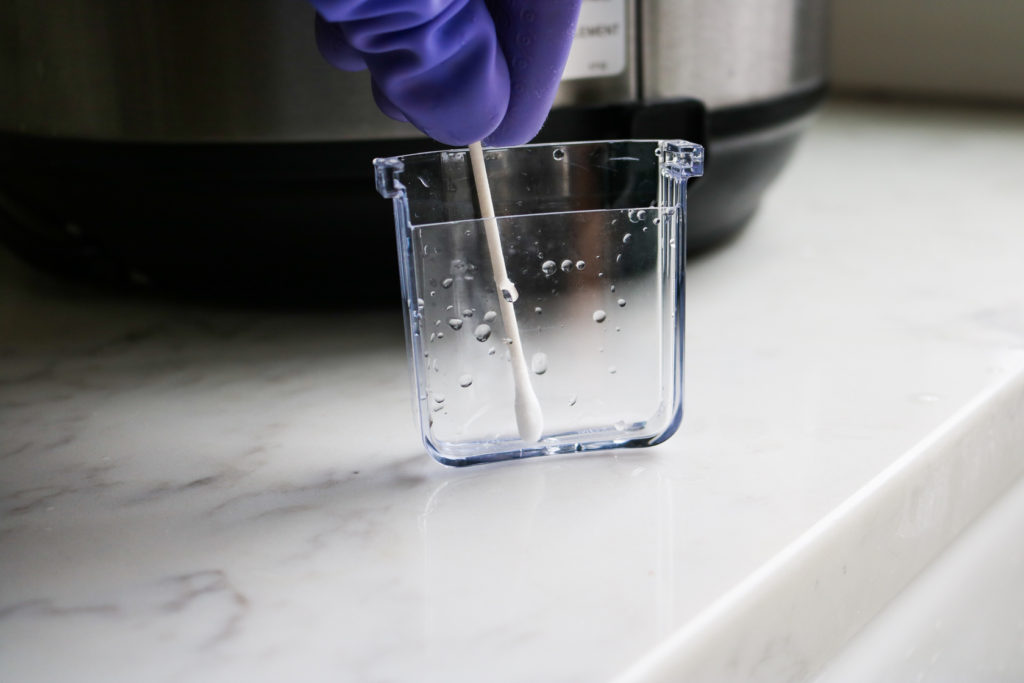
The space is narrow, even too narrow for old toothbrushes. I found that a cotton swab works great.
Air dry completely before placing back on Instant Pot.
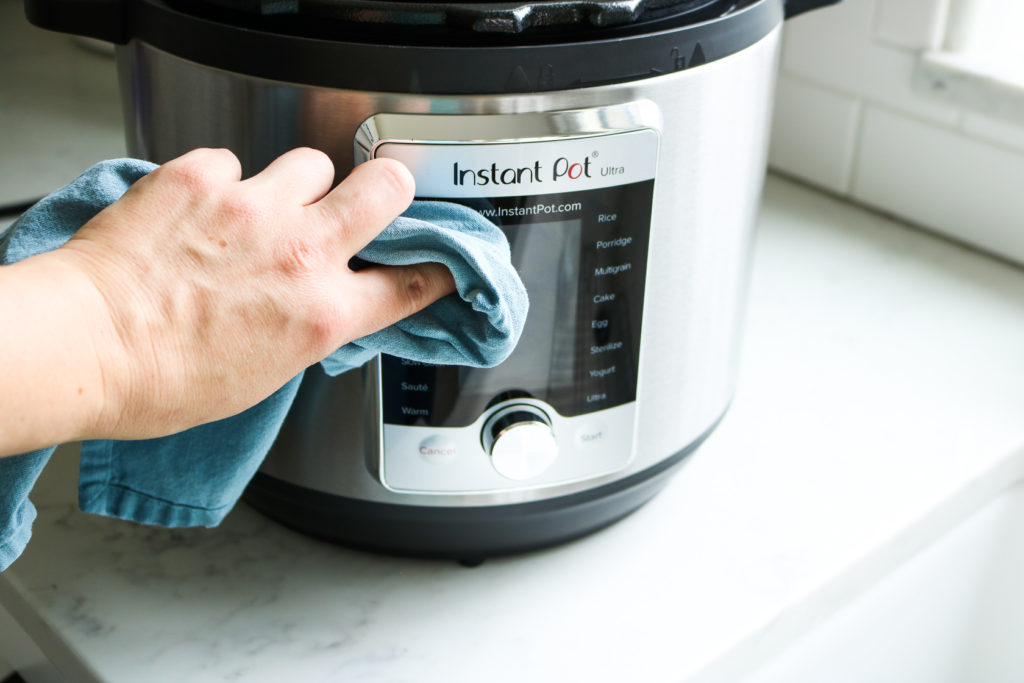
Step 8 – Clean outside
To clean the outside of the Instant Pot, wipe down with a damp soft rag with soap. Wipe horizontally or with the grain of the stainless steel to prevent scratches.
I like to use Mrs. Meyer’s multi-surface cleaner in a spray bottle because it does a great job at cutting grease and not leaving any residue behind. It’s great at removing finger prints marks too.
Wipe dry with a soft towel, again, with the grain.
Secret tip: I also use this to clean my stainless refrigerator doors.

Step 9 – Clean Inner Pot
To clean the inner pot, you can wash by hand with mild soap and a scrub brush or it can be washed in the dishwasher.
Sometimes the inside of a clean pot will still have a cloudy appearance. This happens whenever I cook rice in it.
A baking soda paste will shine it up like new.
How to make baking soda paste
After washing the inner pot clean, drain all water from pot.
Generously sprinkle baking soda in the bottom of the pot.
Using a wet dish sponge with scrubby side, or a dish brush, scrub the bottom of the pan.
The amount of water in the dish sponge should be enough to create a paste with the baking soda when scrubbing.
If not, add 1 tsp water to the baking soda and proceed. The baking soda paste should be about the consistency of a thick, dry toothpaste.
This works about 98% of the time.

![]()
Baking soda didn’t work? I like to use Bon Ami next to create a paste with it just like the baking soda.

![]()
If you STILL have stains/discoloration, then bring out the big guns and use Bar Keeper’s Friend, the powder kind that’s made just for cookware.
Create a paste and scrub pot with paste until all spots are gone.
I always recommend trying the least abrasive method first with the baking soda.
Using natural and more green/safe products as much as possible is highly encouraged, especially when using it on something you’re cooking food with.
Bar Keepers Friend isn’t as green/safe as baking soda is, so use it only as a last resort.

Rinse paste
With all paste methods above, rinse well when done.
Dry with a soft towel.
Step 10 – Deodorize
Sometimes the smell lingers in the Instant Pot and sealing rings, needing to be deodorized.
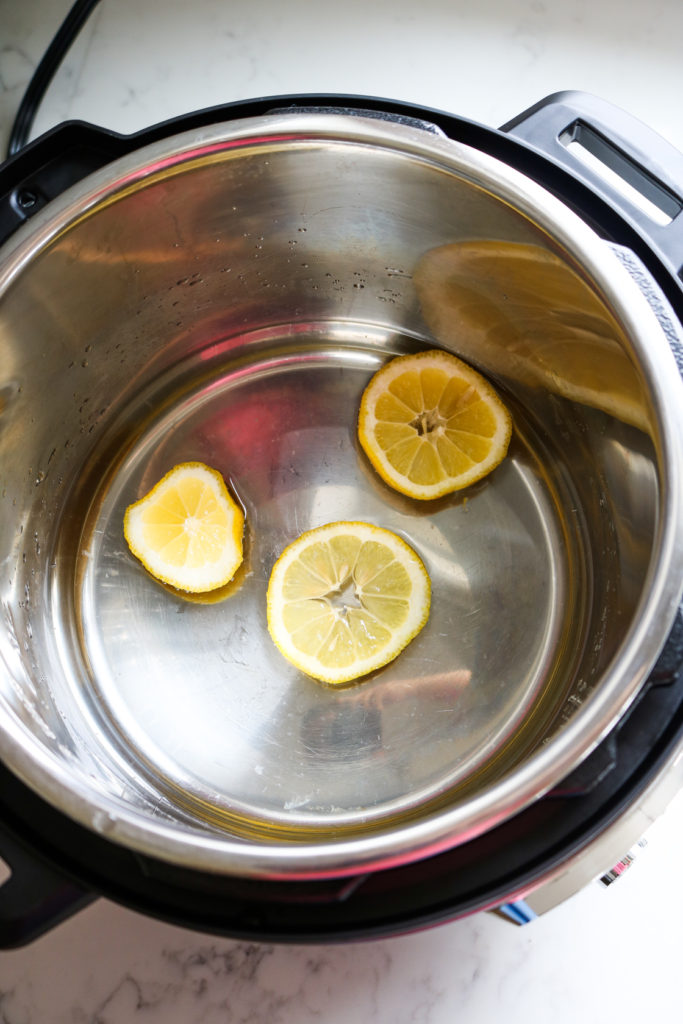
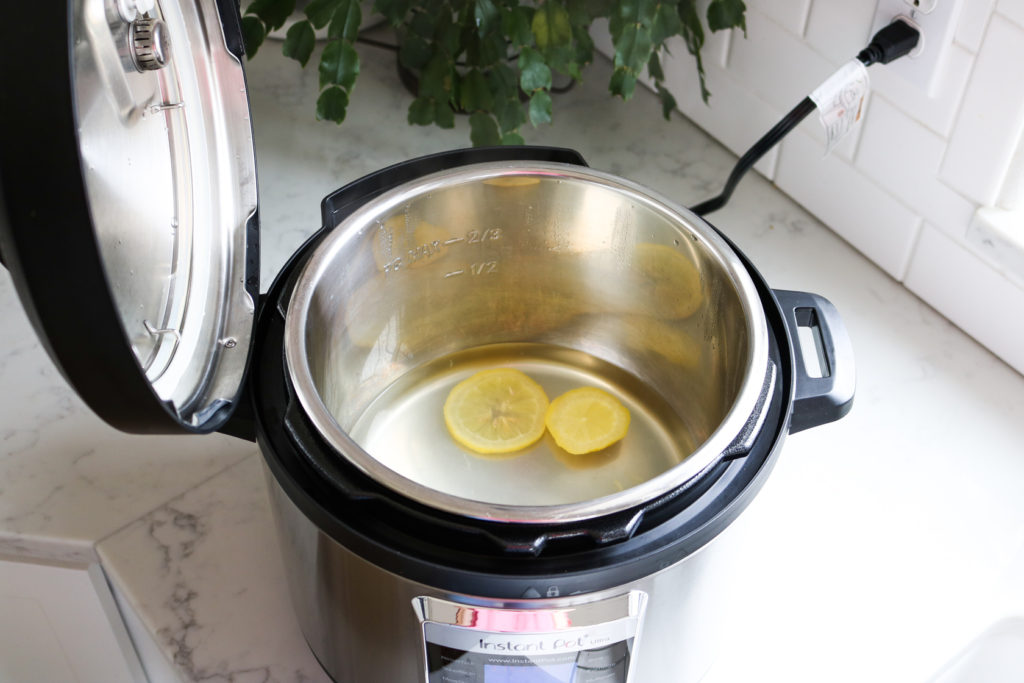
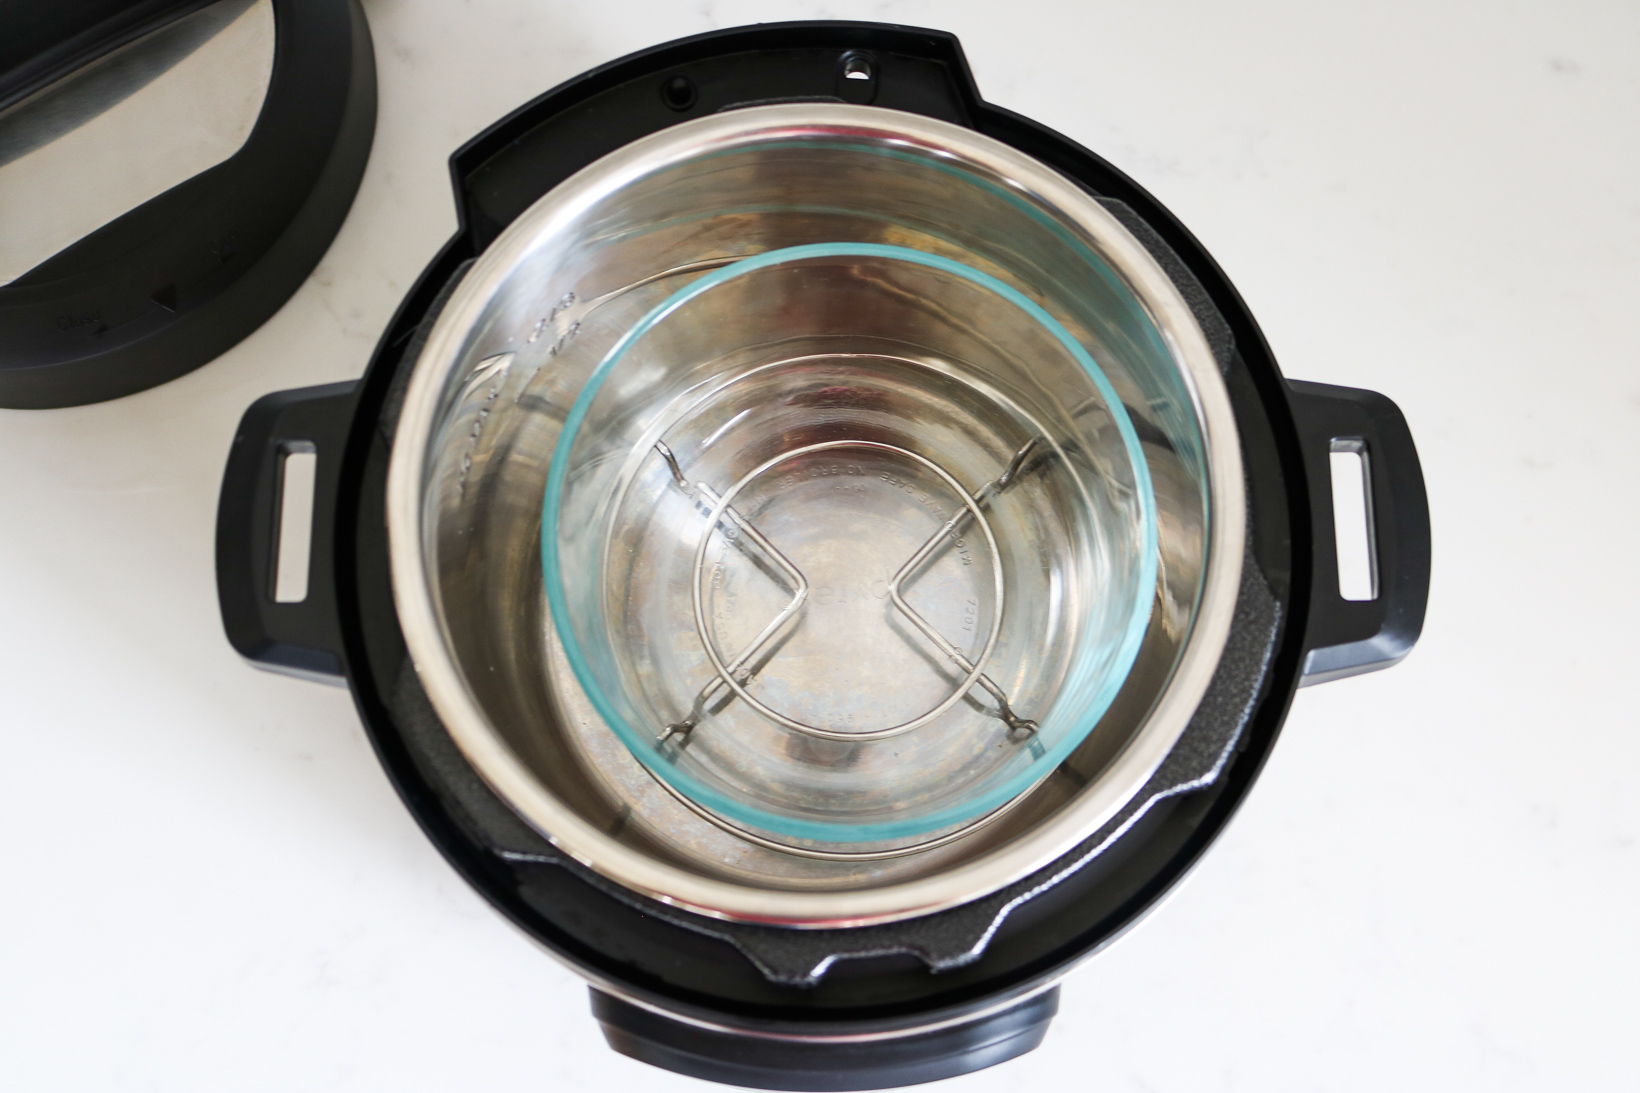
Add the following into the Instant Pot:
- 1 cup water
- 1 cup white vinegar
- Slices of fresh lemon/rind
Pressure cook on high for 5 minutes on STEAM setting followed by a full natural pressure release.
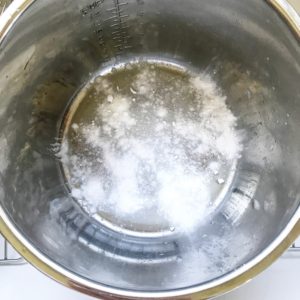
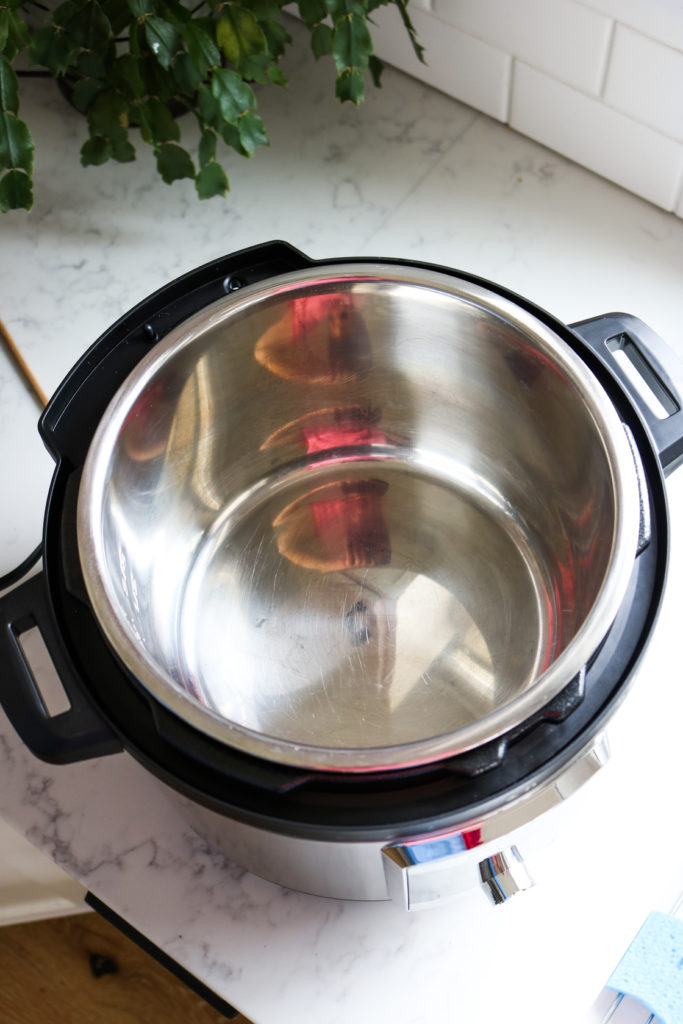
The vinegar and lemon method also works to remove the cloudy/foggy Instant Pot liner just like the baking soda method (mentioned previously).
Before lemon and vinegar

After running steam cycle with lemon and vinegar
Store lid upside down
Oh almost forgot. Store the Instant Pot lid upside down on the Instant Pot whenever not in use.
This allows the air to circulate and prevents smells.
That’s it! It really is simple.
Enjoy your pretty Instant Pot, looking good as new.

Ready to cook?
Here are some of our favorites:
- The Best Instant Pot Pinto Beans
- Instant Pot Teriyaki Chicken with pot-in-pot method
- Instant Pot Bacon Green Beans
- Instant Pot Chili with Venison


This is very helpful, thank you. If you do anything different for a Ninja I would appreciate that information.
I don’t own a Ninja and am unable to give the most accurate information on that appliance.
Thank you for that very helpful advice. I would not have thought of storing the lid upside down.
And I agree, always use baking soda and other natural solutions first. Not enough people are concerned about what goes down our drains.
You’re welcome Lija! I’m so glad this was helpful for you!
Excellent info. I do usw a stainless steel scrubbie and that restores my IP back to new. It does not mar the bottom of the pan. Love my IP. Thanks, Carole
Thanks for your results with using a SS scrubbie!
I don’t like bar keepers friend. Whenever I use it on stainless steal it leaves a gray residue. I have found that soaking stainless steal in vinegar for 24 hours and then doing baking soda does the best job.
I’ve found myself consistently referencing this guide whenever its time for a deep clean…super helpful as a reminder of all the bits and pieces that come off for easy cleaning. Quick question though… I just noticed you mention using the steam setting when deodorizing, and I can’t quite figure out what that is. Based on your photos I’m fairly certain we have the same model, and i can’t find anything like that in the user manual. Am I missing something?
Thank you!
I have an IP DUO 6QT and an Ultra 8QT and both have a steam setting. If you don’t have a steam setting, then just use the low pressure setting and try that!
How do you clean the. Lack interior under the pot?
I use a damp cloth and wipe it. However, I haven’t been able to remove any discoloration on the burn plate.
I am afraid I ruined my IP! I accidentally poured butter water into the pot without the liner! (sorry, getting old ain’t for sissies!)
I did use the sprayer to flush out the bottom, and lots of water came out the bottom. But I am afraid to use it. have you heard of anything like this?
Oh no! That’s so upsetting when that happens. Give yourself some grace, it was an accident. My thoughts are to not use it after spraying it with the sprayer (really saturating the mechanics with water), even after it dries out. This is a pressure cooker and not worth the risk of it malfunctioning. Sorry.